GOM CamUser Guide
Screen Recording
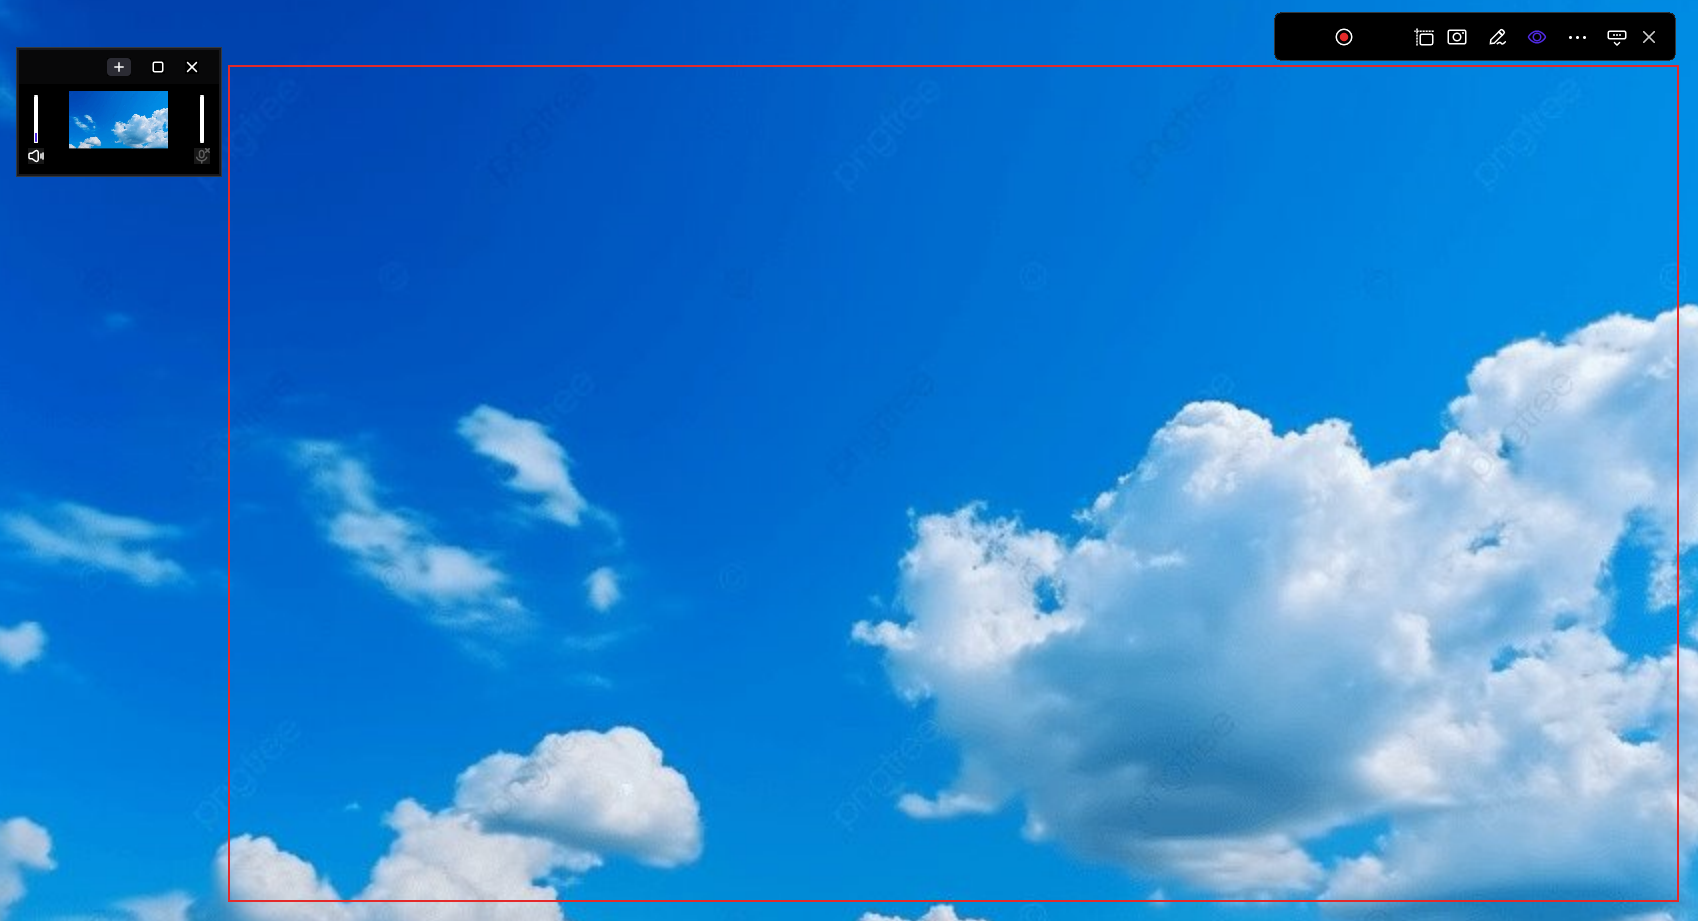
Screen recording is a feature that allows you to specify a recording area on your PC screen to record both the screen and sound displayed in that area. When you start screen recording, the recording toolbar appears, and you can select and use various functions, such as snipping, drawing, and resetting regions.
1. Toolbar Before Recording

Start Recording

|
You can start recording. |
|---|---|
Image Capture

|
It allows you to capture the screen displayed in the recording area as an image. After adding the effect using the drawing tool, it will be saved as an image file with the effect added when captured. |
Drawing

|
It offers drawing tools to which you can add various effects. When clicking, a drawing toolbar appears, allowing you to draw on the screen and add shapes, stamps, text, and more. |
Reset Zone

|
Reset the recording area. After clicking the icon, you can drag the mouse to reset the recording area. |
Preview

|
You can open and close the Preview pop-up, preview the screen that is being recorded. In the Preview, you can check the audio, microphone volume, and mute the sound. You can add effects inside the Preview pop-up and see the added effects on the Preview screen. |
Additional Features

|
You can open and close the Additional Features pop-up, and you can turn on/off Additional Features according to each recording menu. |
Hide Recording Toolbar

|
Hide the recording toolbar and show only the recording area. Click the GOM Cam toolbar icon  in the taskbar (system tray) and the recording toolbar will reappear. in the taskbar (system tray) and the recording toolbar will reappear. |
Close

|
The recording toolbar will close and the home screen will appear. |
2. Toolbar During Recording

Pause
 Resume 
|
You can pause the resume recording. During a pause, the [Pause] icon changes to the [Resume] icon, and clicking the icon resumes recording. |
|---|---|
End Recording

|
You can end the recording. The recorded file will be saved automatically. |
Recording Time

|
You can check the recorded time in real time. |
Close

|
Close the recording toolbar and the home screen will appear. If you click the icon while recording, the recording you have made so far will be saved. |
3. Record Your Screen
Try recording your screen in the following order.
-
①
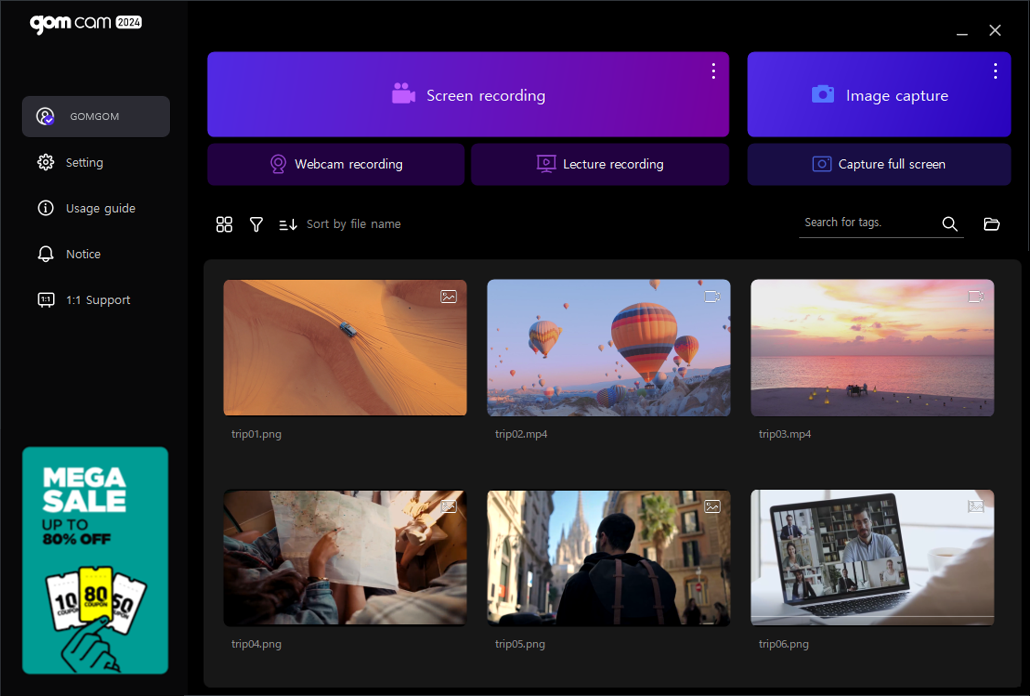
Click the [Screen Recording] menu on the home screen or click the [More] button and click the screen recording menu.

-
②
When clicking the [Screen Recording] menu, drag the mouse to select the area you want to record, and the recording toolbar will appear.
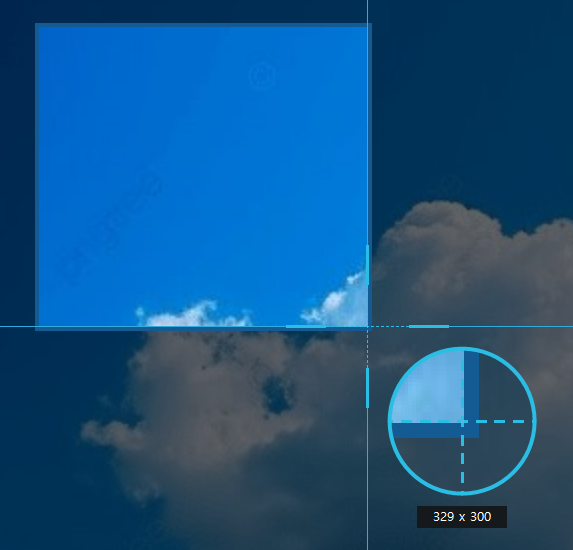
After clicking the [More] button, the screen recording menu will proceed as below.
- When clicking the [Record Full Screen Recording] menu, the recording toolbar will appear as soon as one monitor is connected. If you have more than two monitors connected, select the one monitor you want to record.
- When clicking the [Direct Input] menu, you can manually set the size of the recording area and the recording toolbar will appear.
- When clicking the [Recently Recorded Area] menu, the recording toolbar appears directly from the previous recording location area.
-
③
Click the [Start Recording
 ] button to start recording.
While recording, you can click the [Draw
 ] button to decorate the video.
Additionally, you can click the [Set Effect
 ] button in the [Preview] pop-up to add a webcam, image, and text. You can check the added effect in the Preview pop-up.
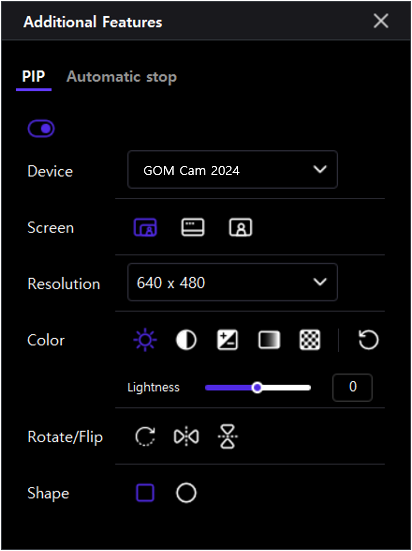
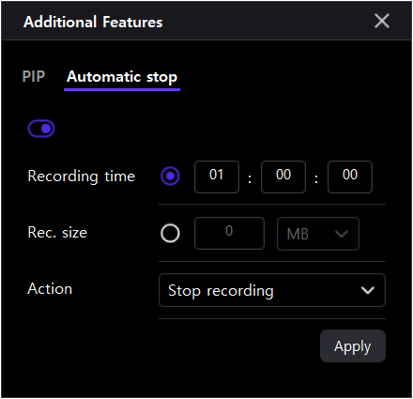
If you click the [Additional Features
 ] button, you can add PIP or change the recording time, capacity, and etc. after turning on the automatic shutdown setting.
-
④
When you finish recording, click the [End Recording
 ] button to end the recording.
-
⑤
Click the [Close
 ] button to end the recording and the home screen will appear. You can check the recorded video files stored in the explorer area right away.
