GOM CamUser Guide
Basic Configurations
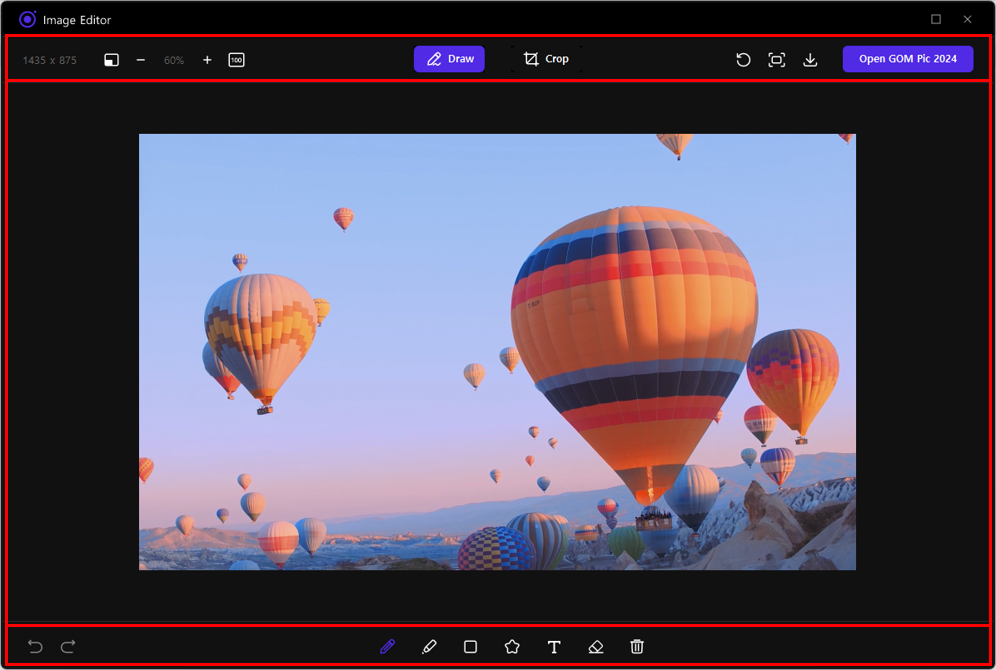
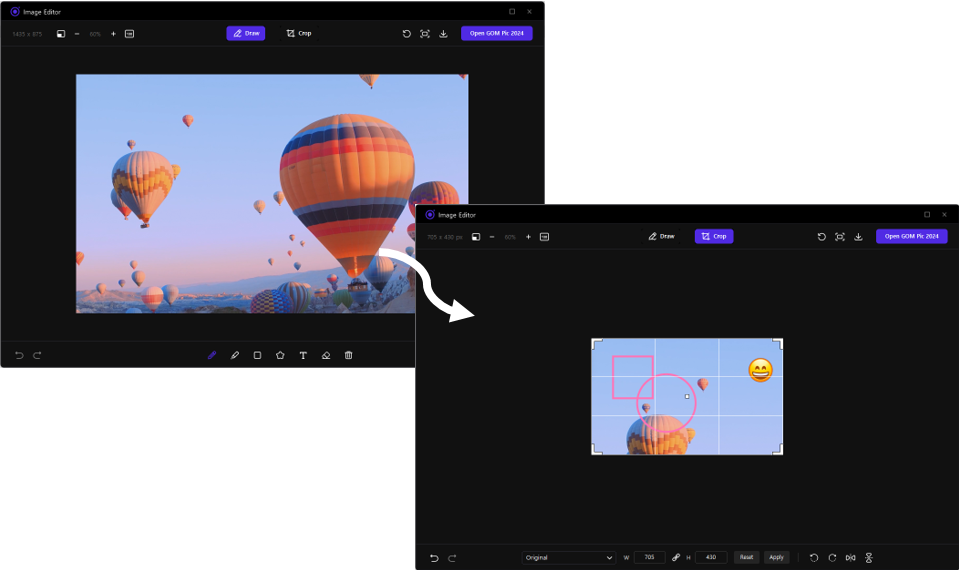
The image editor screen consists of a menu area, an image area, and a tools area.
In the top menu area, you can edit, save, and resize the image and save the file.
The central image area shows the image to which the edit is applied. In the bottom tool area, each tool appears when you click the menu.
1. Menu Area
When you click [ Draw], you can use the drawing menu to decorate the image, and when you click [
 Crop], you can crop or rotate the image. You can check the image size information, view the zoom, modify the image size, and save the file.
2. Image Area
This is the first viewer of the captured image and the viewer allows you to zoom in and out of the image. At the same time, it is an area of the board where you can directly edit the image.
3. Tool Area
When you click [ Draw], the drawing tool appears and when you click [
 Crop], the crop tool appears. Also, there are [Undo
  ] and [Redo
  ] functions.
Simple Edit Order
Try using the image editor in the following order.
-
①
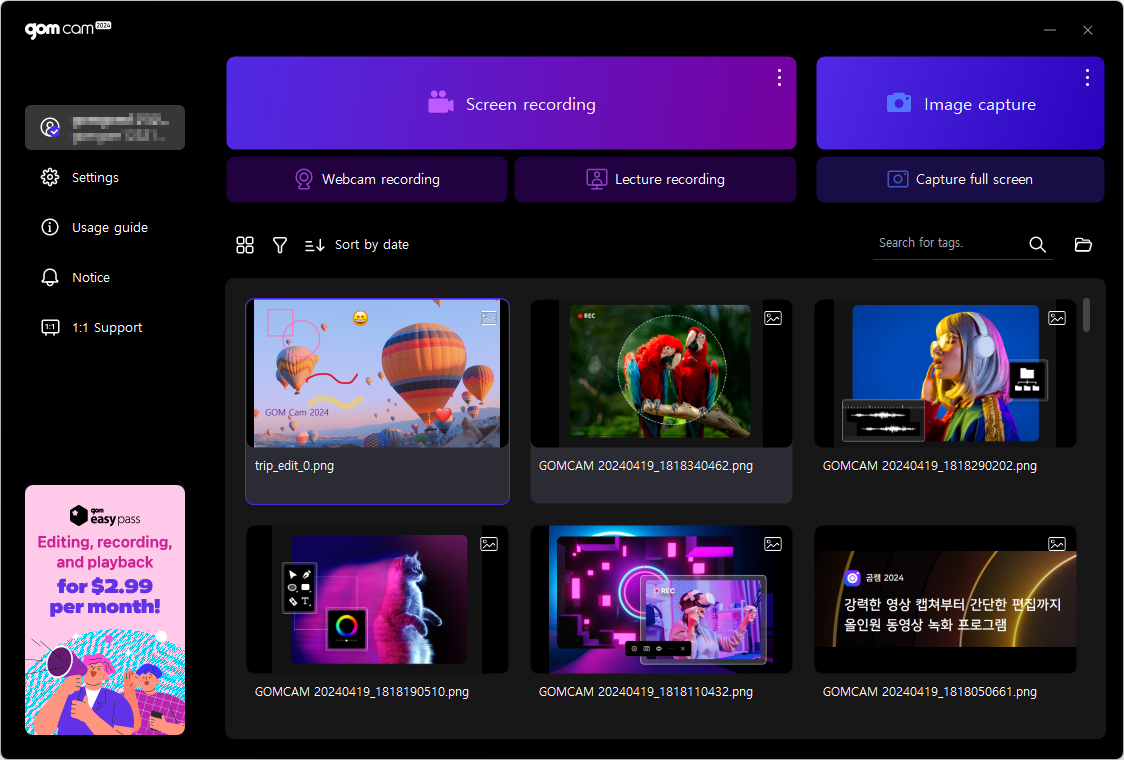
After completing the Image capture, place the mouse cursor over the image file thumbnail on the home screen and click the [
 Edit Image] button.
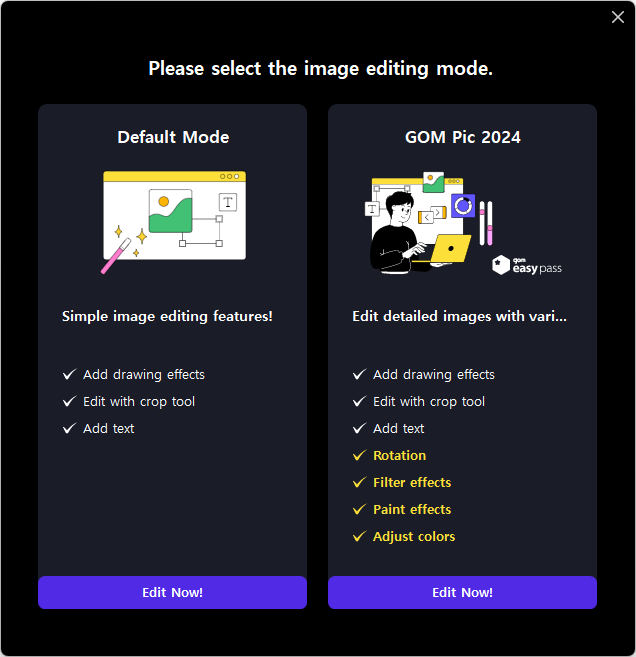
Select the desired editing mode. (The explanation about [Default Mode] continues.)
-
②
Alternatively, you can right-click the GOM Cam icon in the taskbar (system tray) or use a shortcut key to proceed with the capture, and then click on the capture completion popup.
-
③
The Image editor screen and the captured image will appear.
-
④
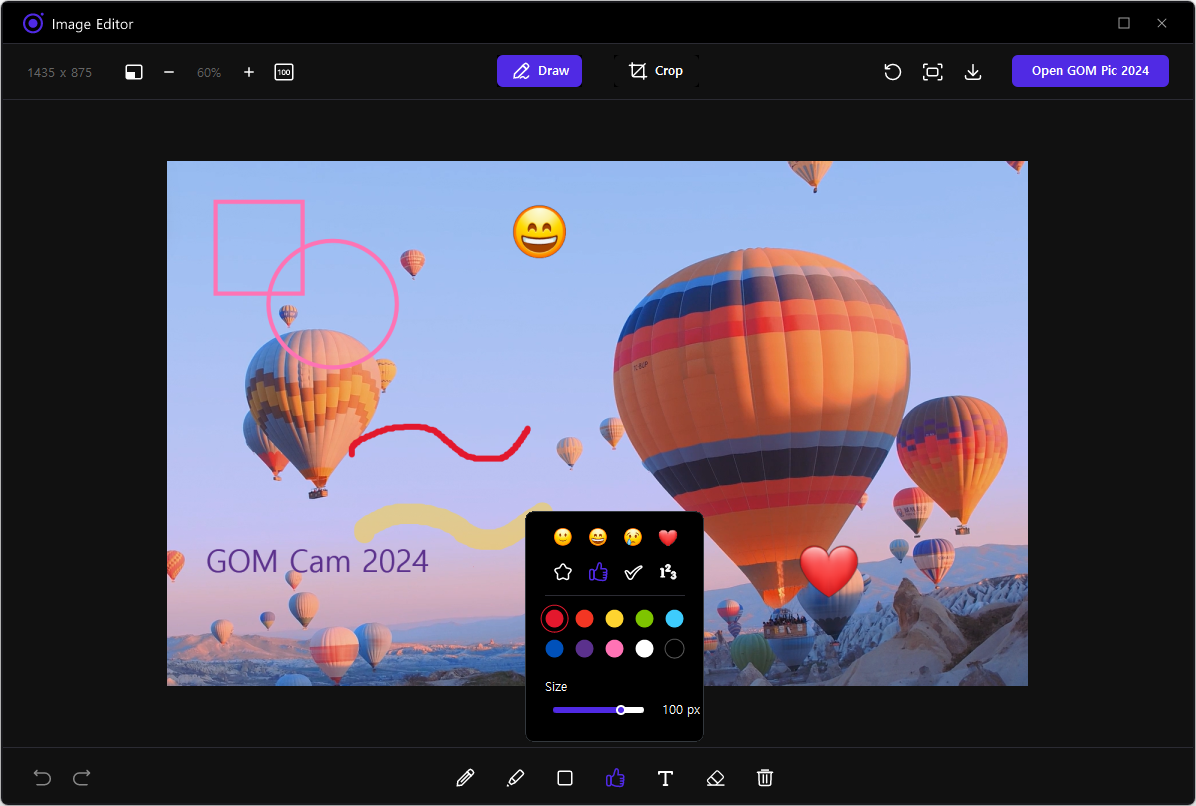
You can click [
 Draw ] to decorate the image using the various [Draw] tools exposed at the bottom.
-
⑤
By clicking [
 Crop], you can use various [Crop], [Rotate
  ], and [Mirror
  ] tools to transform the image.
-
⑥
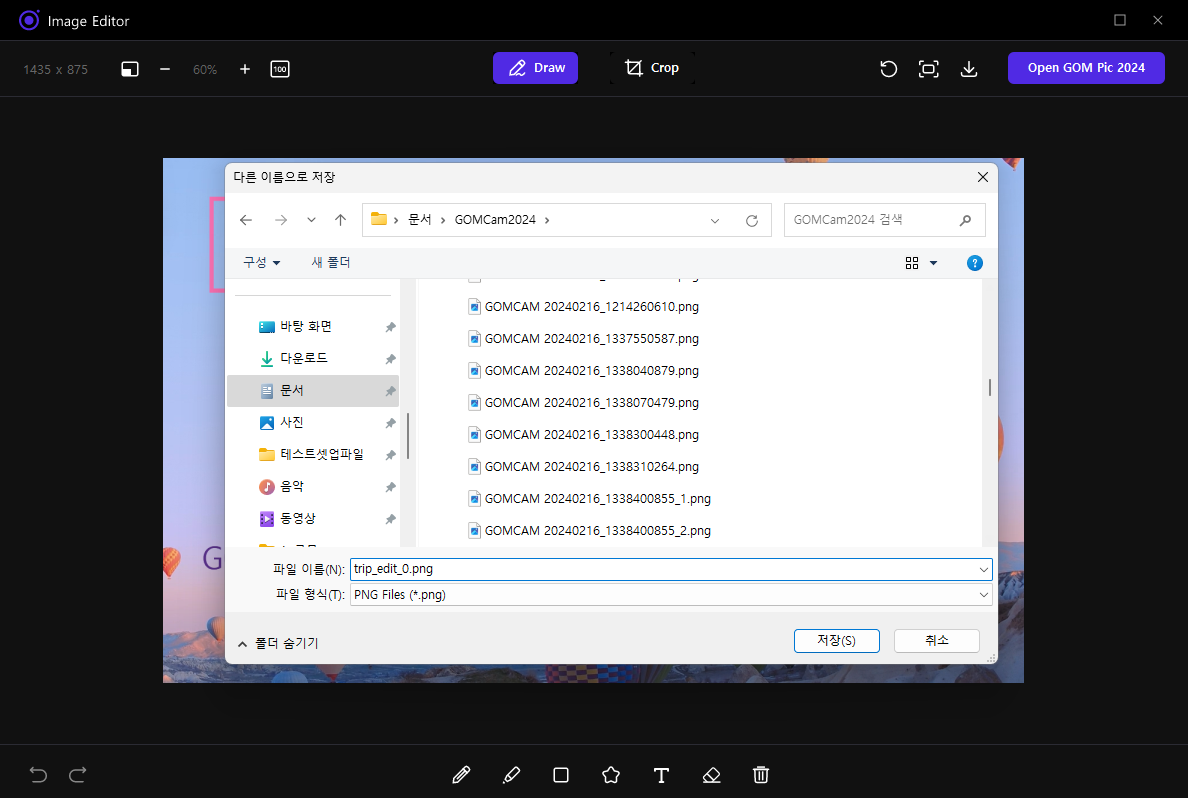
When you finish editing the image, click the [Save File
 ] button to enter the file name in the save system pop-up and save.
-
⑦
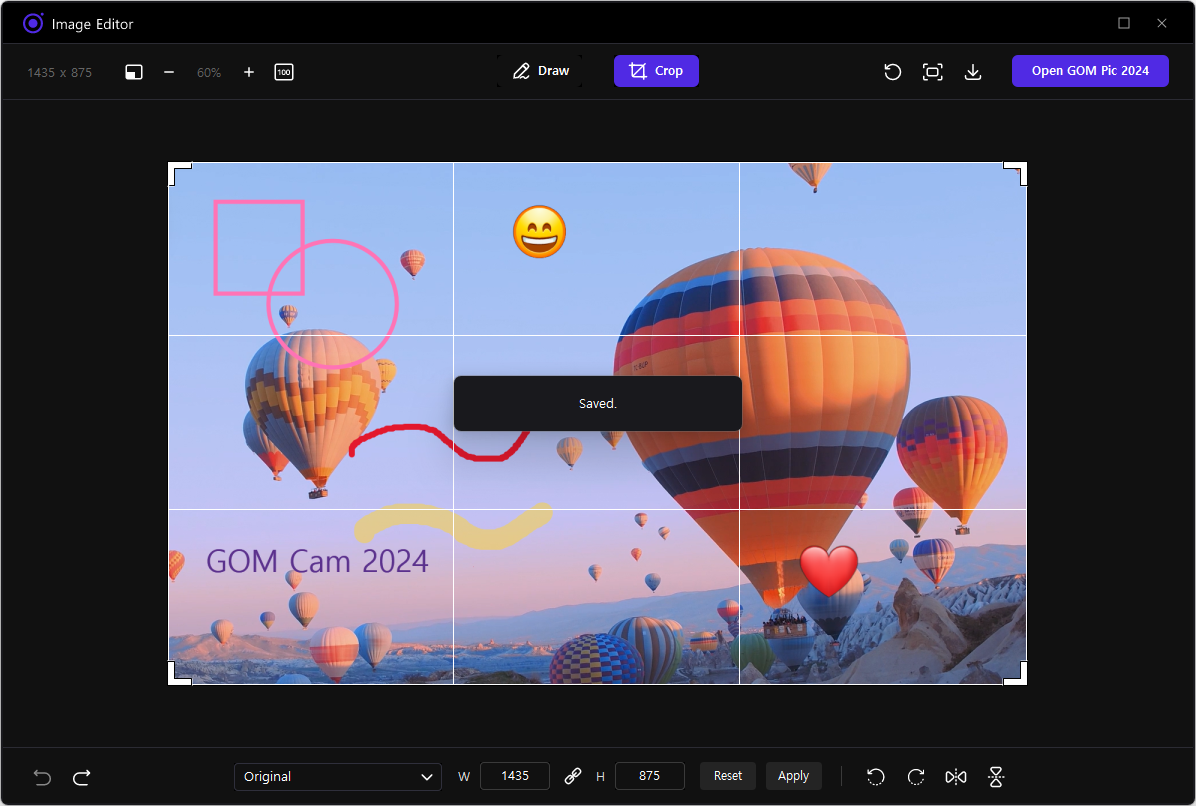
When the save is complete, you can confirm that the save is complete with a toast that says "Saved."
-
⑧
When you click the [Close
 ] button, the image editor will exit and the home screen will appear. You can check the image files stored directly in the explorer area.