GOM CamUser Guide
Image Capture
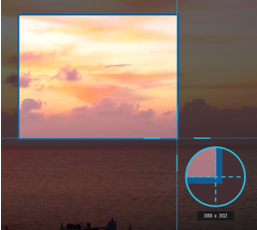
Image Capture is a feature that specifies the area you want to capture on your PC screen and captures it in the form of an image. At the beginning of Image Capture, the zoning tool appears, which specifies the area of the image. After zoning, it is captured and saved as an image file. Then, you can check the files in the home screen > explorer area.
Image Capture
Try capturing images in the following order.
-
①
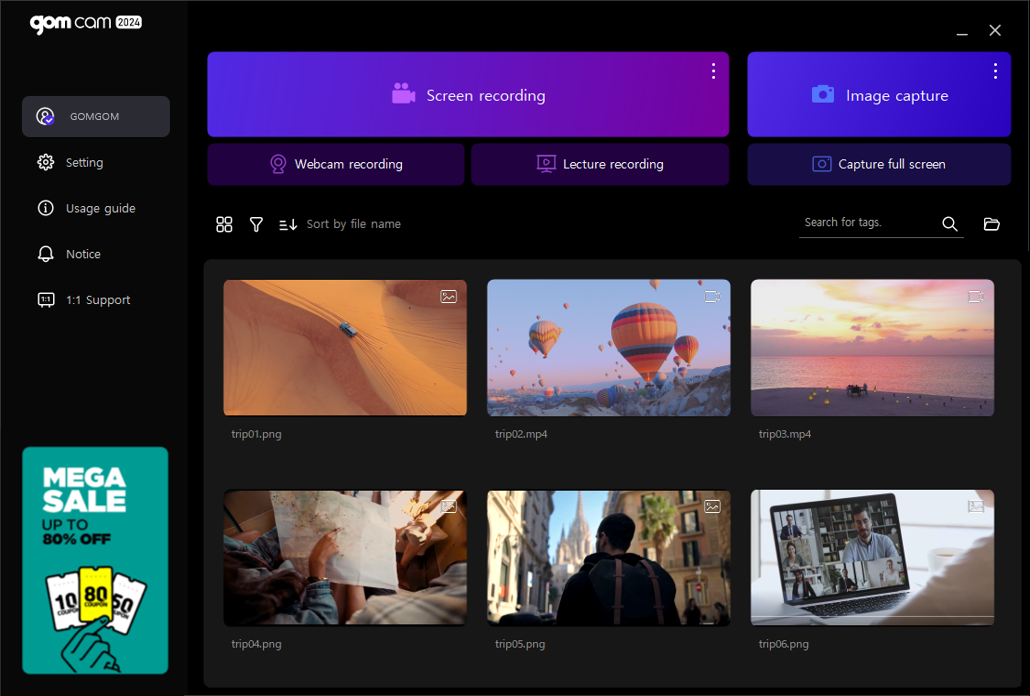
Click the [Image Capture] menu on the home screen or click the [More] button and click the menu for each image capture.

-
②
If you click the [Image Capture] menu, drag the mouse to select the area you want to capture, then the image will be captured immediately and saved as an image file.

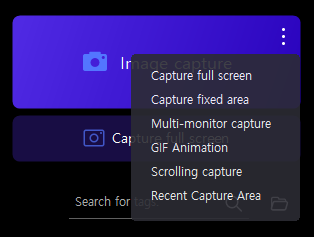
After clicking the [More] button, the image capture menu appears as below.
- If you click the [Full Screen Capture] menu, an image will be captured immediately if one monitor is connected. If you have more than one monitor connected, select the one monitor screen you want to capture
- If you click the [Capture Multi-monitor] menu, all connected monitor screens will be captured as images immediately.
- Click the [Recently Captured Area] menu to capture an image directly from the previously captured location area.
-
③
After completing the image capture, the home screen will appear. You can check the image files stored directly in the explorer area.

