GOM CamUser Guide
Editing Tools
1. Drawing Tools
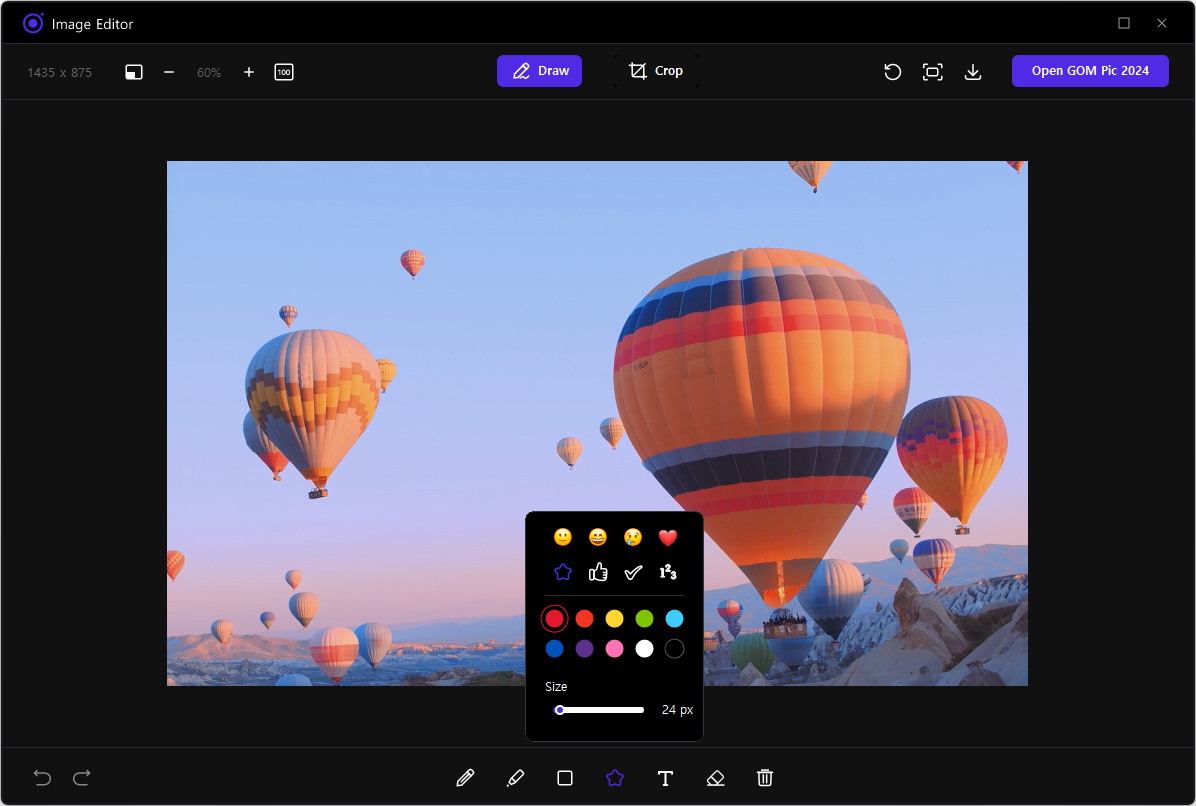
If you click the [ Drawing] tool located at the top, you can see various tools and options that provide drawing functions at the bottom.
When you click on each tool, an option pop-up will appear and allow you to adjust the color, size, and thickness of the selected tool.

Pen

|
You can draw lines with the pen. When clicking the [Pen] button, a setting pop-up will appear, and you can set the color and thickness. |
|---|---|
Highlight

|
You can draw lines with the highlight. When clicking the [Highlight] button, a setting pop-up will appear, and you can set the color and thickness. |
Figure

|
You can add basic figures: squares, circles, lines, and arrows. When clicking the [Figure] button, a setting pop-up appears, and you can set the figure's type, color, and size. |
Stamp

|
You can add stamps: emoticons, stars, checks, and etc. When clicking the [Stamp] button, a setting pop-up will appear, and you can set the type, color, and size of the stamp. |
Text

|
You can add text. Click the [Text] button and click on the desired location in the recording area to write the text. In the text setting pop-up, you can set the color and size of the text. |
Eraser

|
You can erase the drawing effect you added with the Eraser. Drag the effect you want to erase with the mouse to delete it. |
Erase All

|
Erases all drawing effects that you added. |
2. Cropping Tools
When you click the [Crop  ] tool located at the top, you can check the cropping, mirroring, and rotation functions at the bottom.

| Select Area | You can select Customize, Original, and Square respectively to fix the ratio or you can specify the area without fixing the ratio. |
|---|---|
Area Size

|
Information about the size of the current area is displayed, and the size of the area can be changed by manual input. Additionally, when the chain is activated, it is possible to change the size of the area by maintaining the ratios. |
| Reset | When the [Reset] button is clicked, the currently specified area is canceled and restored to the state it was in before the first crop. |
| Apply | When the [Apply] button is clicked, all areas except the selected area are cut out. |
Rotate

|
The entire image rotates 90 degrees each to the left and right, apart from the selection. |
Mirror

|
The entire image is mirrored symmetrically up/down and left/right, regardless of the selection. |
3. Image Size Switching Tool
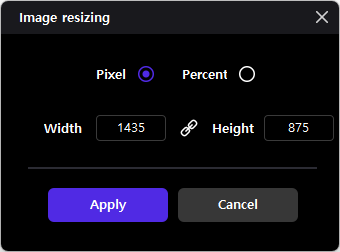
When you click the crop [Tool  ] located on the upper left, the image resize pop-up appears in the middle of the window and you can resize the image.

- You can choose between pixels and percentages and you can resize them by entering the value.
- When you click the [Maintain Ratio
 ] icon, you can change the size of the image by maintaining the ratio.
 - When the [Apply] button is clicked, the adjusted image size is changed and appears, whereas when the [Cancel] button is clicked, the resizing window closes.
