GOM CamUser Guide
Capture Fixed Area
There are two types of fixed area captures: the default mode, which specifies an area and captures them one by one, and the continuous capture mode, which captures multiple shots by setting the capture interval and count. This function allows you to specify the area you want to capture and conveniently capture it, and set the mode in the toolbar or add various effects with the drawing tool.
1. Capture Fixed Area
- Basic Mode

Image Capture

|
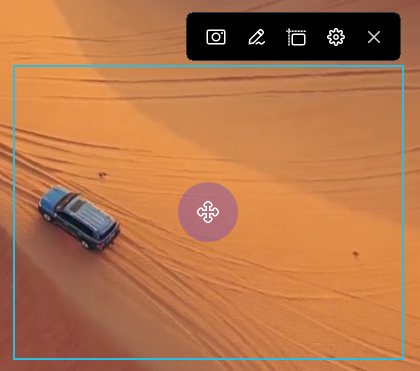
It allows you to capture the screen displayed in the Image Capture area as an image. Effects added using drawing tools are also captured. |
|---|---|
Draw

|
You can add various effects with the drawing tools. When you click on the drawing icon, the drawing toolbar will appear vertically on the screen. Use the toolbar to draw on your screen, add stamps, shapes, text, and more. |
Reset Area

|
You can reset the capture area. Click the Reset Area icon, then you can select the window you want to record with the mouse or drag the mouse to reset the recording area. |
Continuous Capture Settings

|
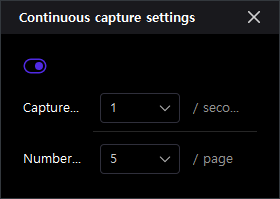
When you click the Continuous Capture Settings icon, the Continuous Capture Settings pop-up will appear. Then you can turn continuous capture on/off. |
Close

|
Close the Image Capture toolbar and the home screen will appear. |
- Continuous Capture Mode

Continuous Capture

|
When you click Continuous Capture, multiple images are captured in a row according to the value set. The capture interval and number can be changed in the Continuous Capture Settings. |
|---|---|
Draw

|
You can add various effects with the drawing tools. When you click on the drawing icon, the drawing toolbar will appear vertically on the screen. Use the toolbar to draw on your screen, add stamps, shapes, text, and more. |
Reset Area

|
You can reset the capture area. Click the Reset Area icon, then you can select the window you want to record with the mouse or drag the mouse to reset the recording area. |
Continuous Capture Settings

|
When you click the Continuous Capture Settings icon, the Continuous Capture Settings pop-up will appear. Then you can turn on the Continuous Capture setting to set the capture interval time and count. |
Close

|
Close the Image Capture toolbar and the home screen will appear. |
2. Capture Fixed Area
Try capturing a fixed area in the following order.
-
①
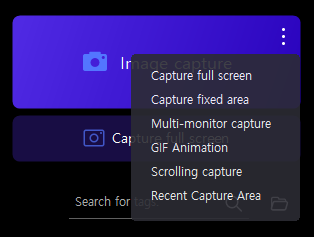
On the home screen, click the [More] button in the upper right corner of the [Image Capture] menu and click the [Capture Fixed Area] menu.

-
②
Drag the mouse to select the area you want to capture and the Image Capture toolbar will be exposed.

-
③
Click the [Image Capture
 ] 버튼을 클릭하면 캡처가 완료됩니다.
- When continuous capture is in progress, click the [Continuous Capture Settings
 ] button to turn on the continuous capture setting in the settings pop-up. Then, set the interval and number of continuous captures.

- After setting, you can click the [Image Capture] button to check the number of captures in real time.

- When continuous capture is in progress, click the [Continuous Capture Settings
-
④
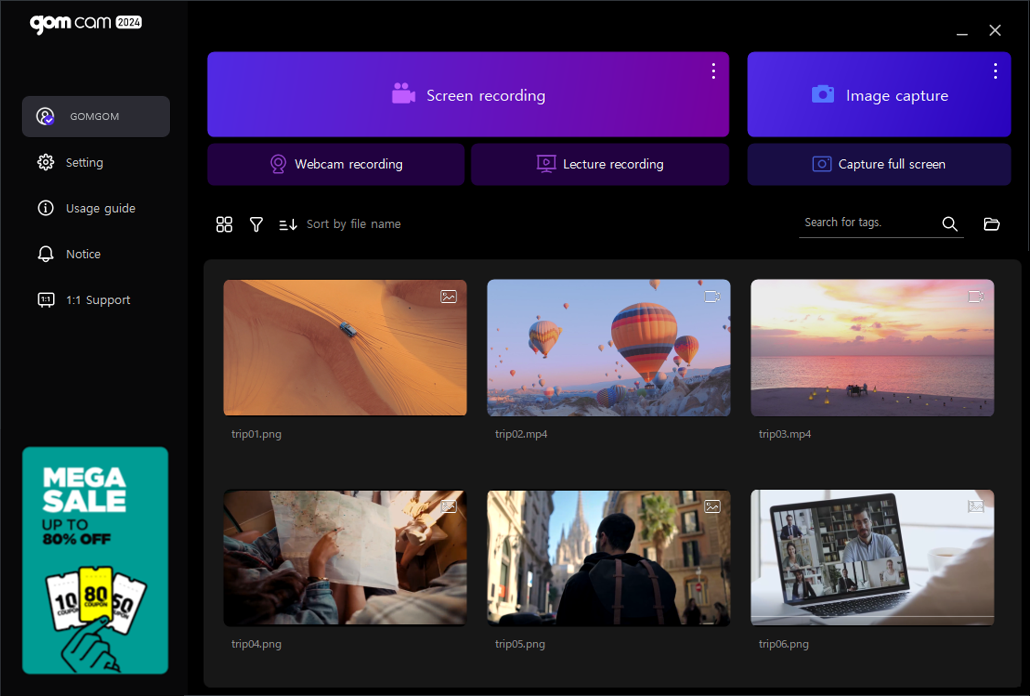
[Click the [Close
 ] button to end the image capture and the home screen will appear. You can check the captured image files in the explorer area.

