GOM MixUser Guide
Preview Panel
This panel gives you a preview of the original content (without any effects) of the clip placed in the project clip list. It also shows you what the clips in the timeline work area would look like when you export them. In addition, it is also used to place or adjust the frame control that appears when you are adding object clips or effects.
For the sake of memory efficiency, this panel shows the preview of the video with a resolution lower than what you may have set. Thus, the video may be played with roughness and in low quality. However, once you encode the video, it will appear in line with the resolution you have set.
Largely, this panel is offered in two modes, timeline and clip, and each mode will be automatically shifted to one another according to the edits.
1. Timeline Mode
This shows the export output video according to the time of the timeline. When the focus in the timeline work area, it is automatically shifted to this mode.
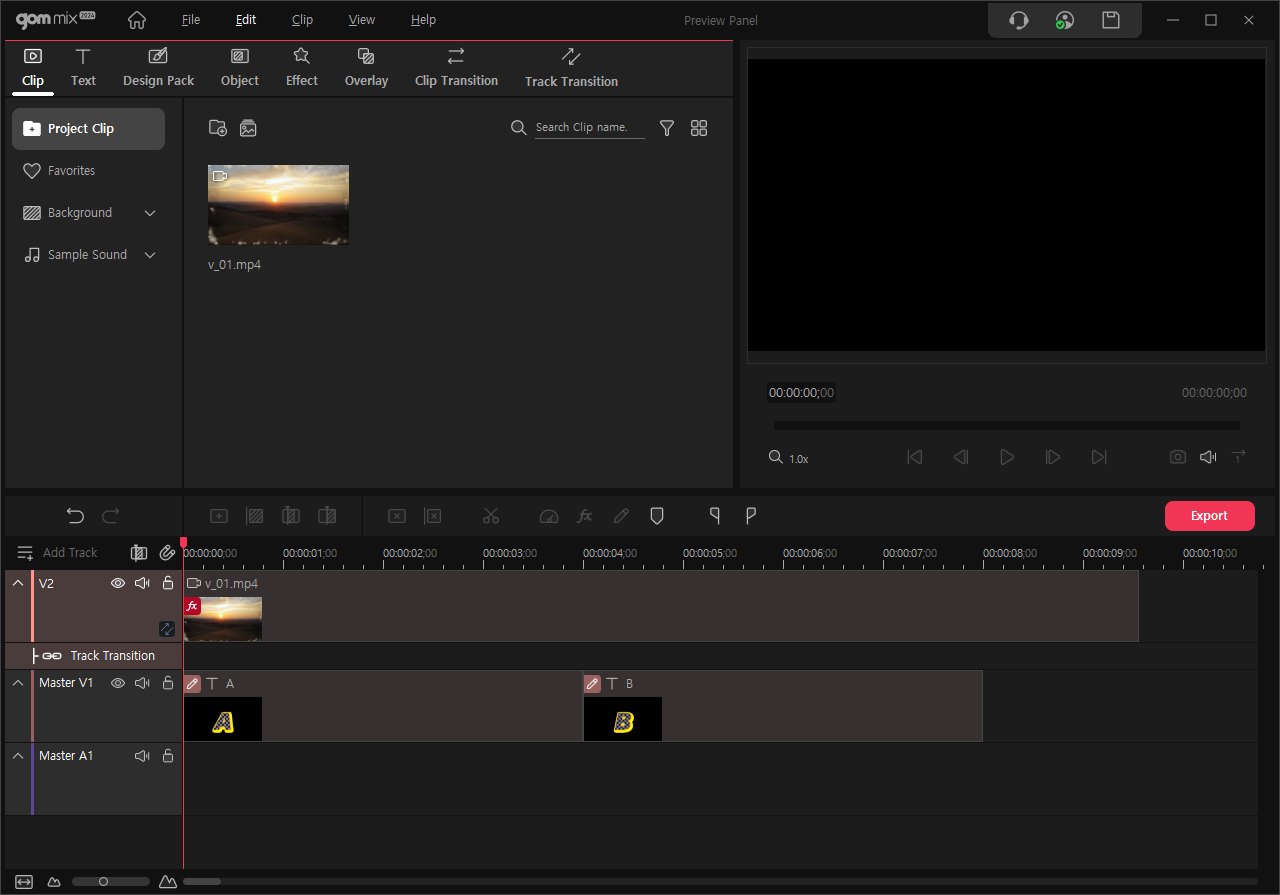
Monitoring window button function provided in timeline mode
| Clip playback head |
|
It is a playback head that points to the position of clip playing. |
|---|---|---|
| Playback head position |
|
Show the position of clip playback head (HH:MM:SS:frame number). Enter a number to move to the clip playback head. |
| View Ratio Mode |
|
Viewing ratio mode button indicates the current viewing ratio of the screen. The current zoom ratio is displayed on the right of the button (1.0x). Press the Zoom Ratio Mode button. The mouse pointer will be changed to |
| Move playback head to Previous Clip Start Position |
|
Move the playback head to the start position of the clip for the selected track. If there is no previous clip, then the playback head will move to the initial position. If there is space between clips, then the playback head will move to the start position of space. |
| Move playback head to Next Clip Start Position |
|
Move the playback head to the start position of the next clip for the selected track. If there is no next clip, or it is empty, then the playback head will move to the start position of the next clip. |
| Previous/Next Frame |
|
Move the clip playback head to the next/previous frame. |
| Play/Pause |
|
Play pause a clip. |
| Save Snapshot |
|
Immediately save it as an image file by clicking it. The file path can be checked and changed in the Save tab of the top bar menu: [File] > [Settings]. |
| Once/Repeat Play |
|
Play a clip in the timeline section once or repeatedly. |
| End Time |
|
It is the end time for the last clip in the project. |
2. Clip Mode
In this mode, you can monitor clips collected in the project clip list as it is shown in the original copy. When clips of the project clip list are selected in the Source and Effects Panel, it is automatically shifted to this mode.
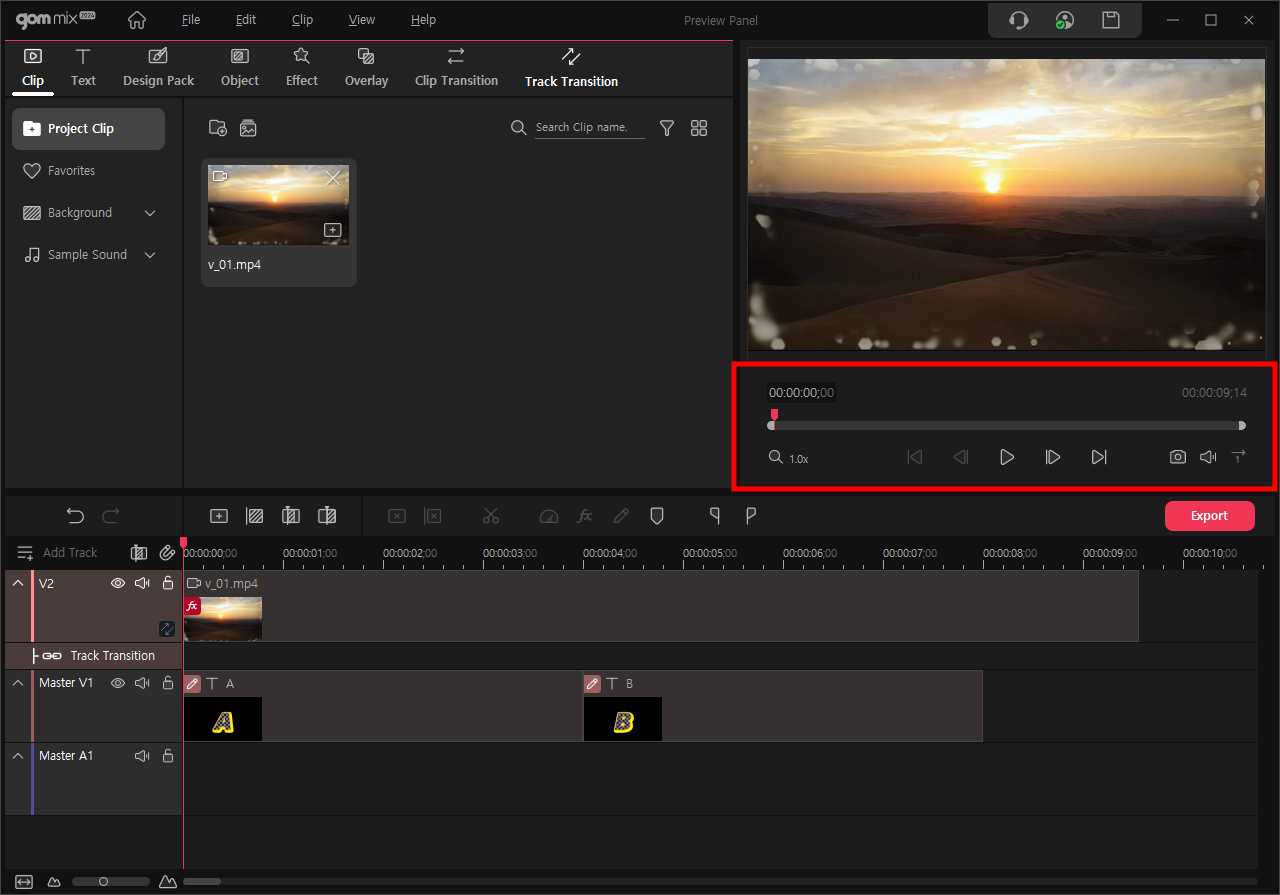
Monitoring window button function provided in timeline mode
| Clip playback head | It is a playback head that points to the position of clip playing. | |
|---|---|---|
| Playback head position | Show the position of clip playback head (HH:MM:SS:frame number). Enter a number to move to the clip playback head. | |
| View Ratio Mode | Viewing ratio mode button indicates the current viewing ratio of the screen. The current zoom ratio is displayed on the right of the button (1.0x). | |
| Move playback head to Start/End Position | Move the clip play head to the front/end of the source clip. | |
| Previous/Next Frame | Move the clip playback head to the previous/next frame of the source clip. | |
| Play/Pause | Play a clip or pause a source clip. | |
| Once/Repeat Play | Play a source clip once or repeatedly. | |
| End Time | It is the end time for the source clip (Clip Duration). |
In this mode, a red line will be formed on top of the project panel.
(1) Source Clip Mode
Show the source clip on the project clip list window as the original copy.
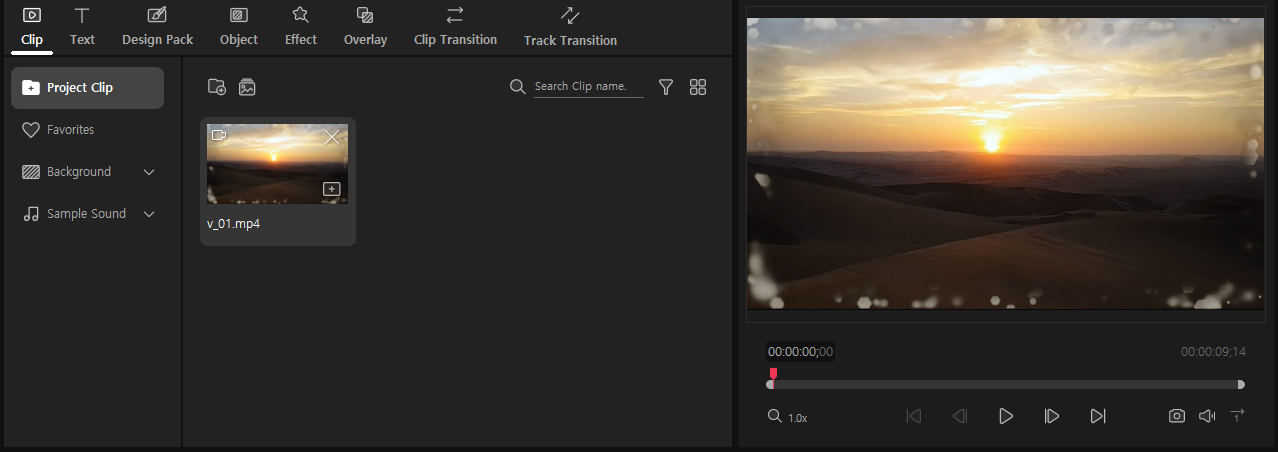
- Manual Transition of Source Clip Mode
Show the edited clips only.
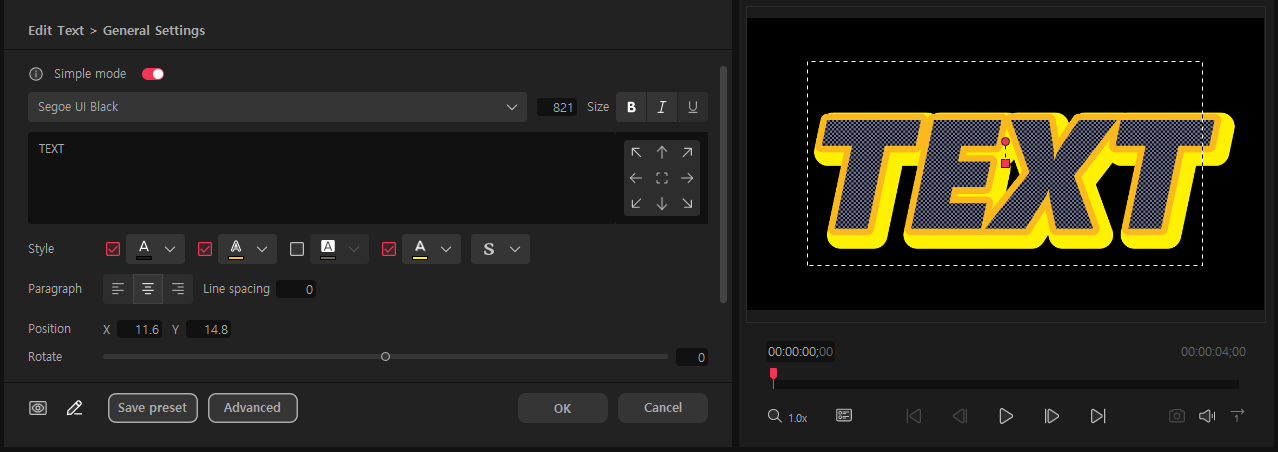
(2) Virtual Clip Mode
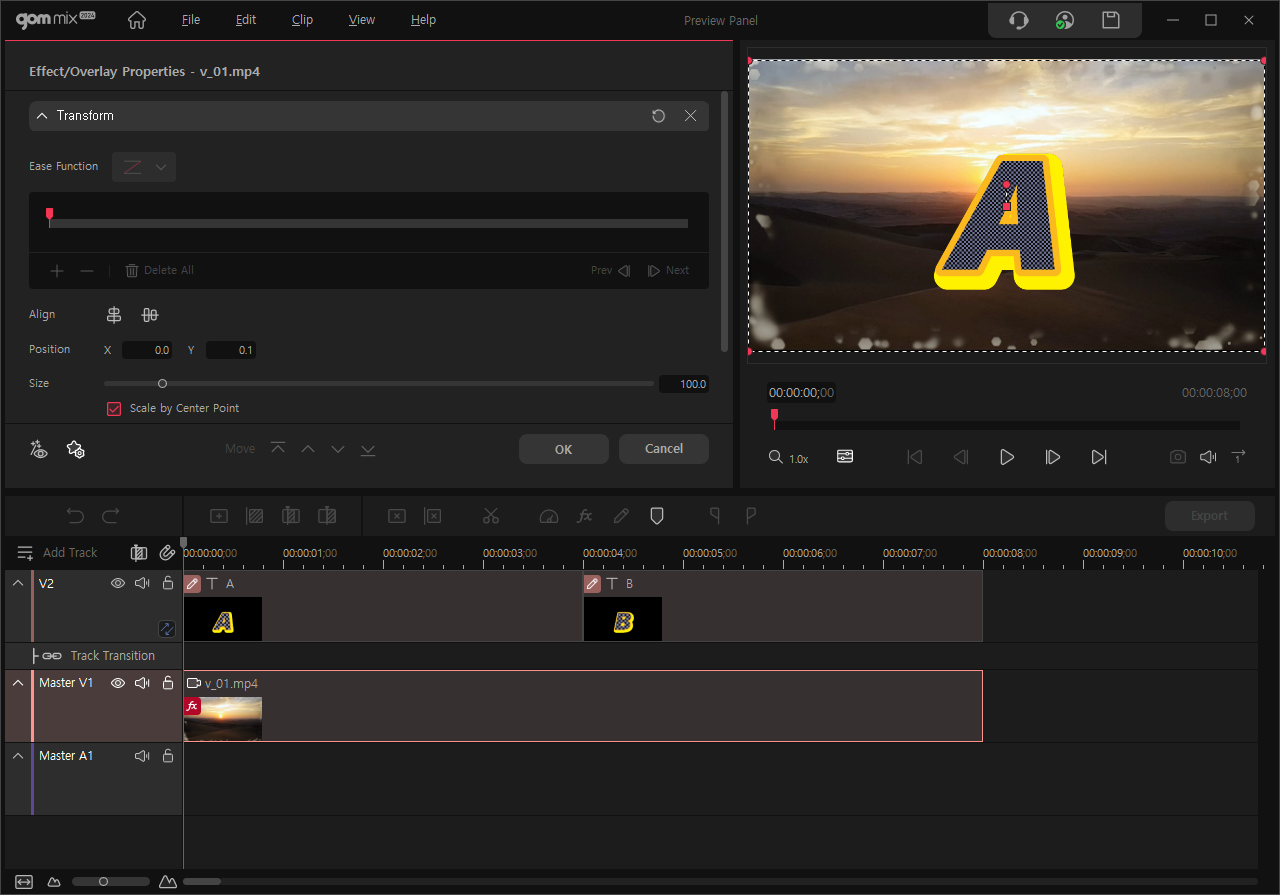
When editing text clips or object clips properties, you can watch the screen with timeline Seekbars.
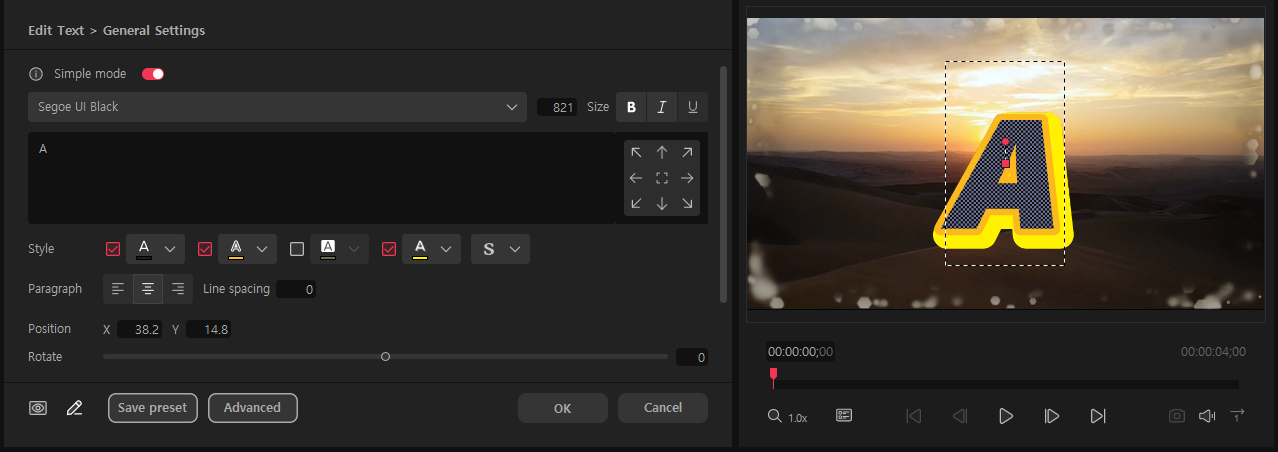
Automatic switching is done to let you edit a text clip or object clip while watching the screen based on timeline Seekbars. In the monitor window, ![]() will appear, and the playback head of the timeline panel will be moved to the front of the clip, and it is deactivated
will appear, and the playback head of the timeline panel will be moved to the front of the clip, and it is deactivated ![]() .
.
In Virtual Clip mode, you can use the “Clip playback head” of the preview panel or the “Keyframe control playback head” to move a playback head. Click the timeline panel to close the ongoing property edit window and apply the setting to the clip. Click the timeline mode switching button ![]() to switch to timeline mode and as a
to switch to timeline mode and as a ![]() result, every clip in the timeline is displayed on the monitor. Press the button
result, every clip in the timeline is displayed on the monitor. Press the button ![]() to switch back to virtual clip mode.
to switch back to virtual clip mode.
(3) Track Clip Mode
Switched when you want to modify a clip in the timeline or apply effects to it based on Seekbar. Prevent the screen from being blocked by the clip at the top track and modify the clip at the bottom or apply effects to them while watching the screen.
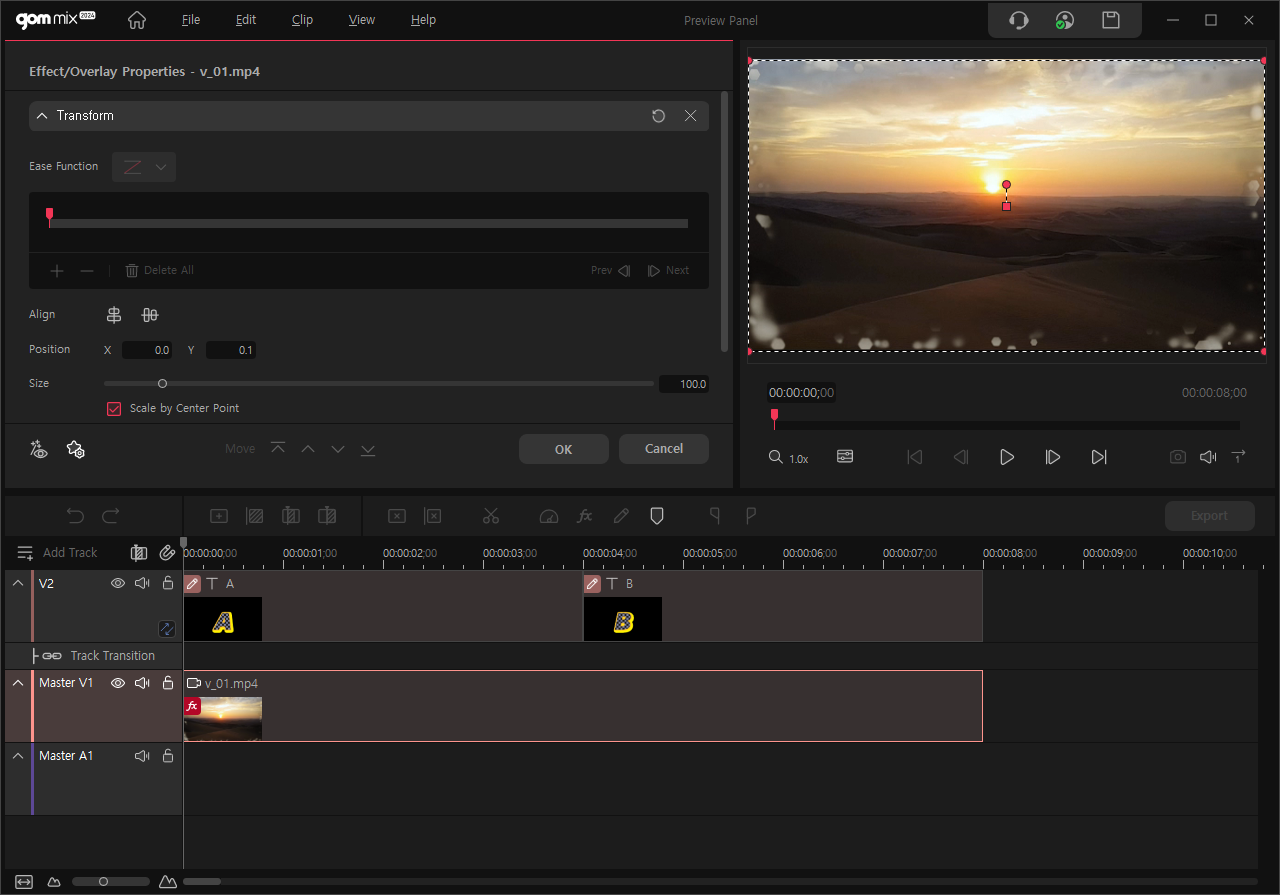
In Track Clip mode, the timeline mode switching ![]() button is displayed on the monitor screen and the playback head for the timeline panel is moved to the front of the clip and deactivated
button is displayed on the monitor screen and the playback head for the timeline panel is moved to the front of the clip and deactivated ![]() .
.
In Track Clip mode, you can use the “Clip playback head” of the preview panel or the “Keyframe control playback head” to move a playback head. Click the timeline panel to close the ongoing property edit window and apply the setting to the clip.
Press the ![]() button to switch to timeline mode
button to switch to timeline mode ![]() and display every clip of the track with the playback head on the screen. Click the
and display every clip of the track with the playback head on the screen. Click the ![]() button one more time to switch to track clip mode and show every track’s clip located in the playback head.
button one more time to switch to track clip mode and show every track’s clip located in the playback head.
- Timeline mode switched to manual mode
