GOM PicUser Guide
Quick Learning
Simple Image Creation
Please follow the steps below to edit an image:
-
1.
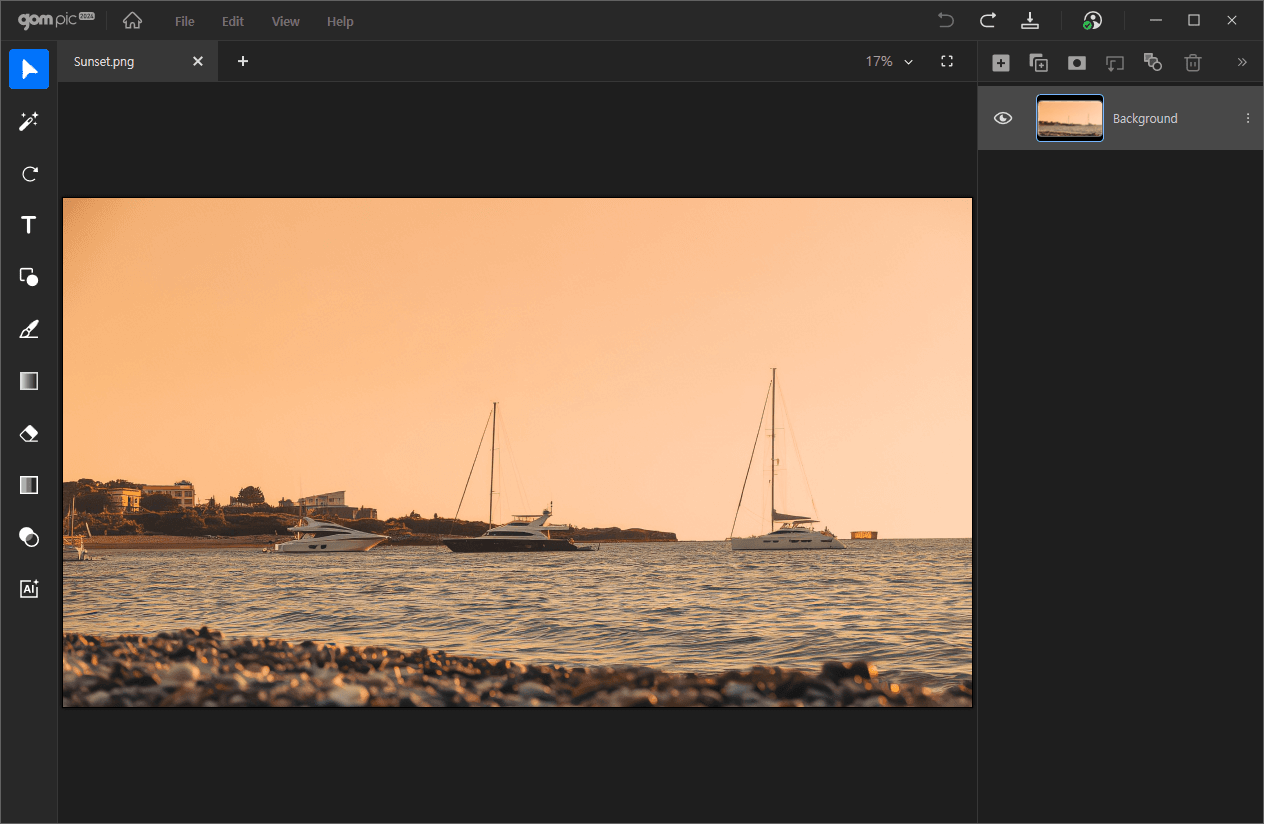
After running Gom Pic, click the ‘New’ or ‘Import Image’ button on the home screen to open an empty file or load an image to edit.
You can also select a template of your choice or load images with AI Upscaling to improve image quality.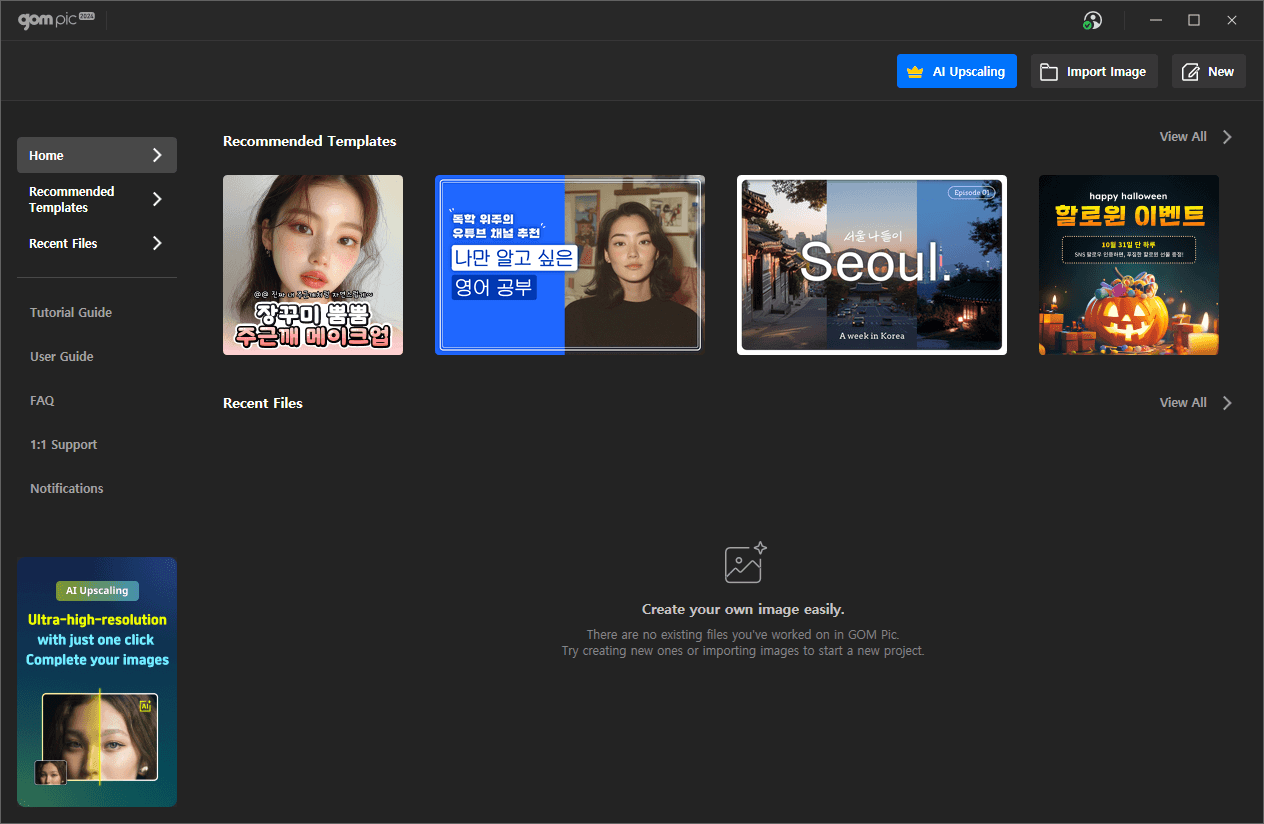
-
2.
Using the adjustment tool, you can automatically correct the color or tune the color to the desired level.

-
3.
You can add special effects to your image using the filter tool.

-
4.
You can easily select and edit the specific area you want using the area selection tool.
-
5.
You can use the crop tool to crop or adjust the size of the canvas to your desired size.

-
6.
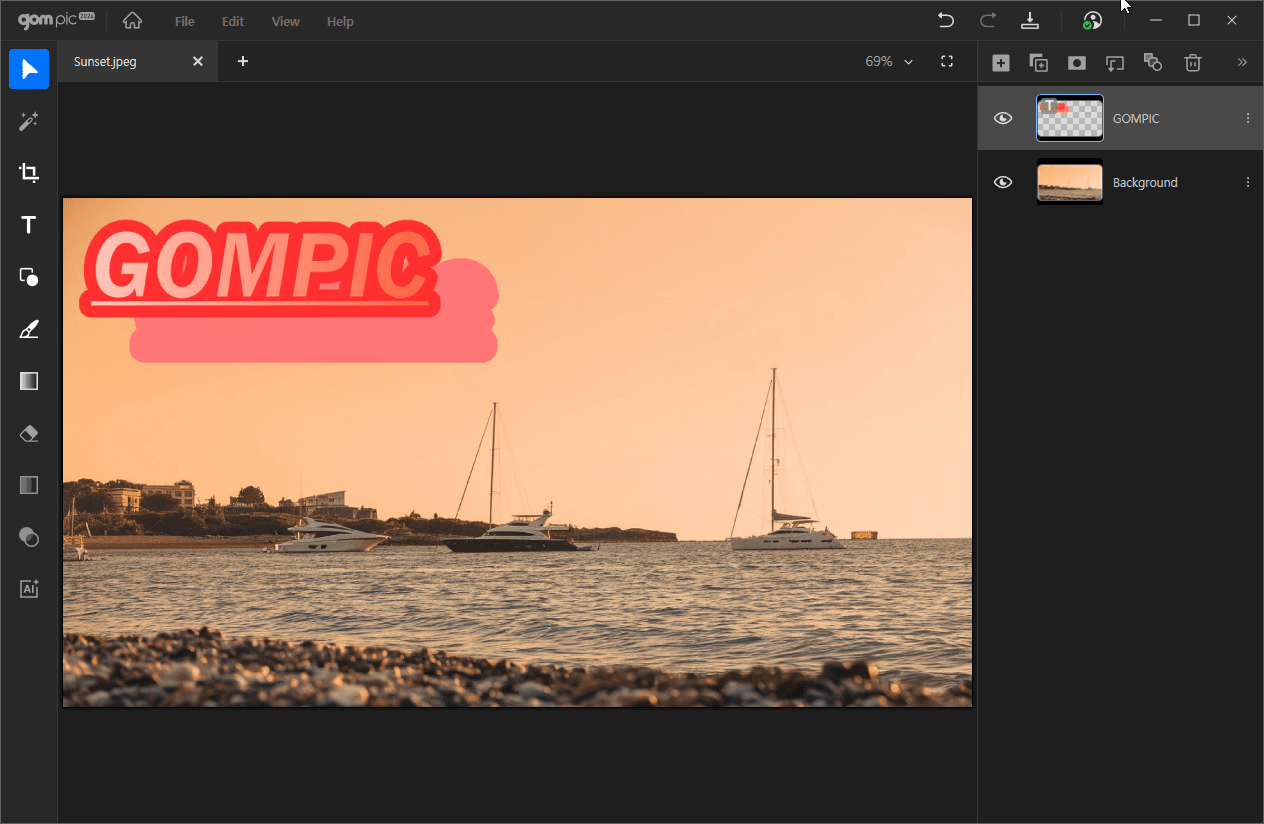
You can use the text tool to add text and set solid color fill, gradient, outline, shadow, etc.
-
7.
Using the shape tool, you can add a shape of the desired shape and set solid color fill, gradient, outline, shadow, etc.
-
8.
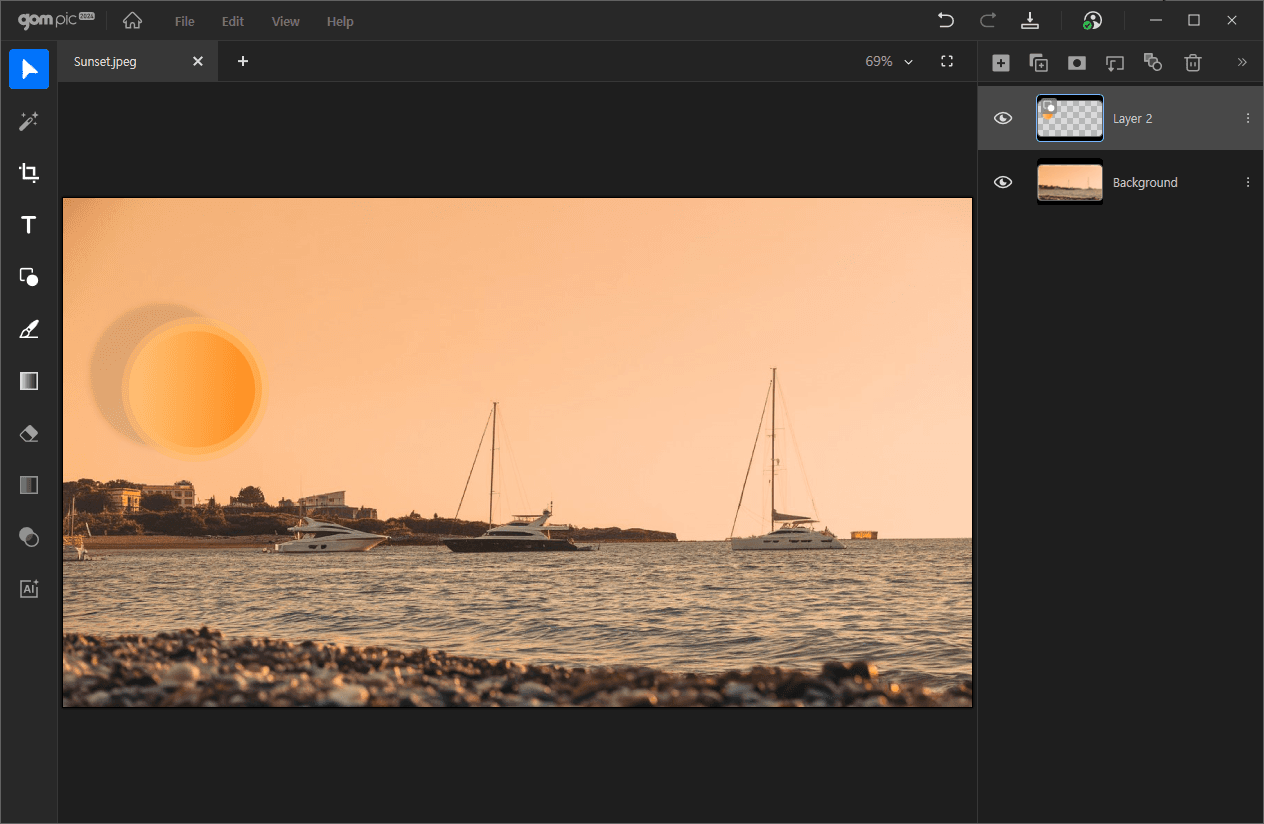
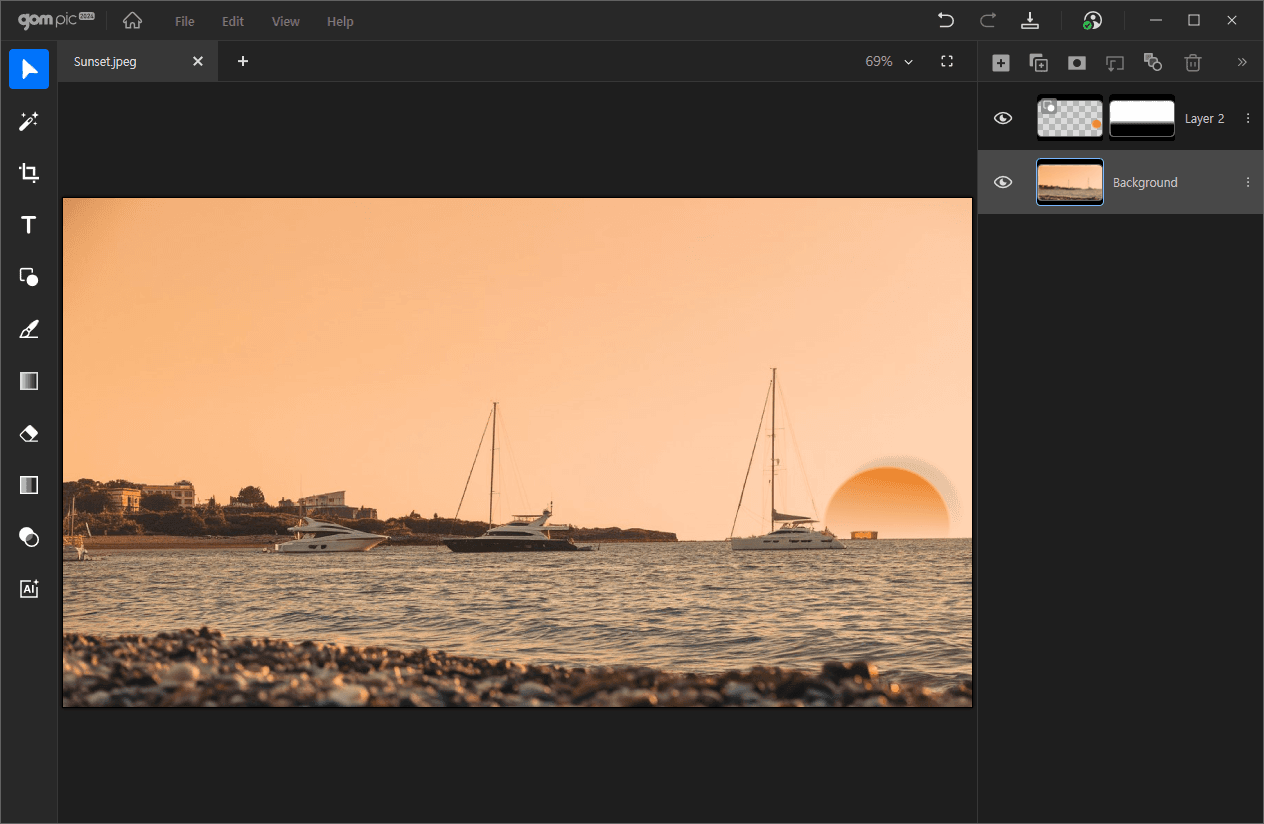
You can use a layer mask to add a layer with transparency effects to create natural images between layers.
-
9.
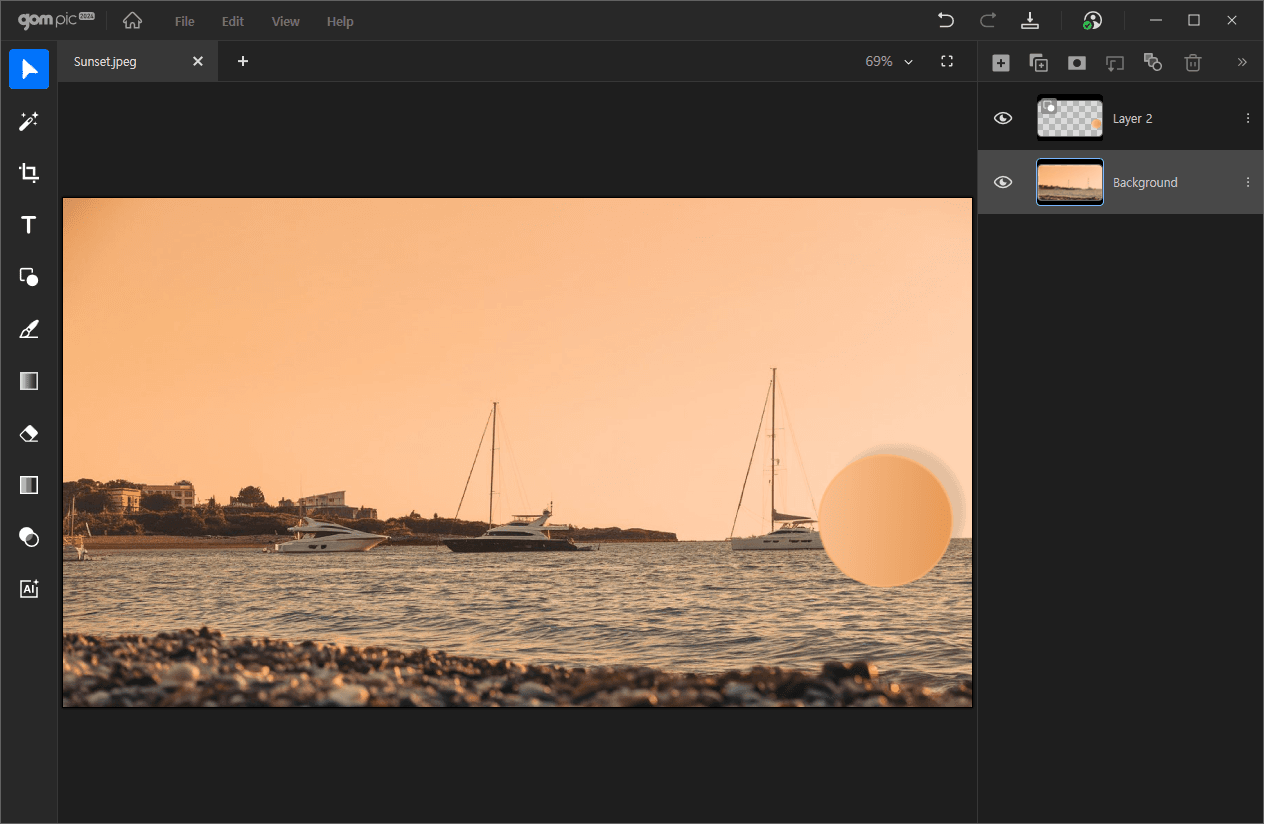
You can use a clipping mask to expose the image in the desired shape.
-
10.
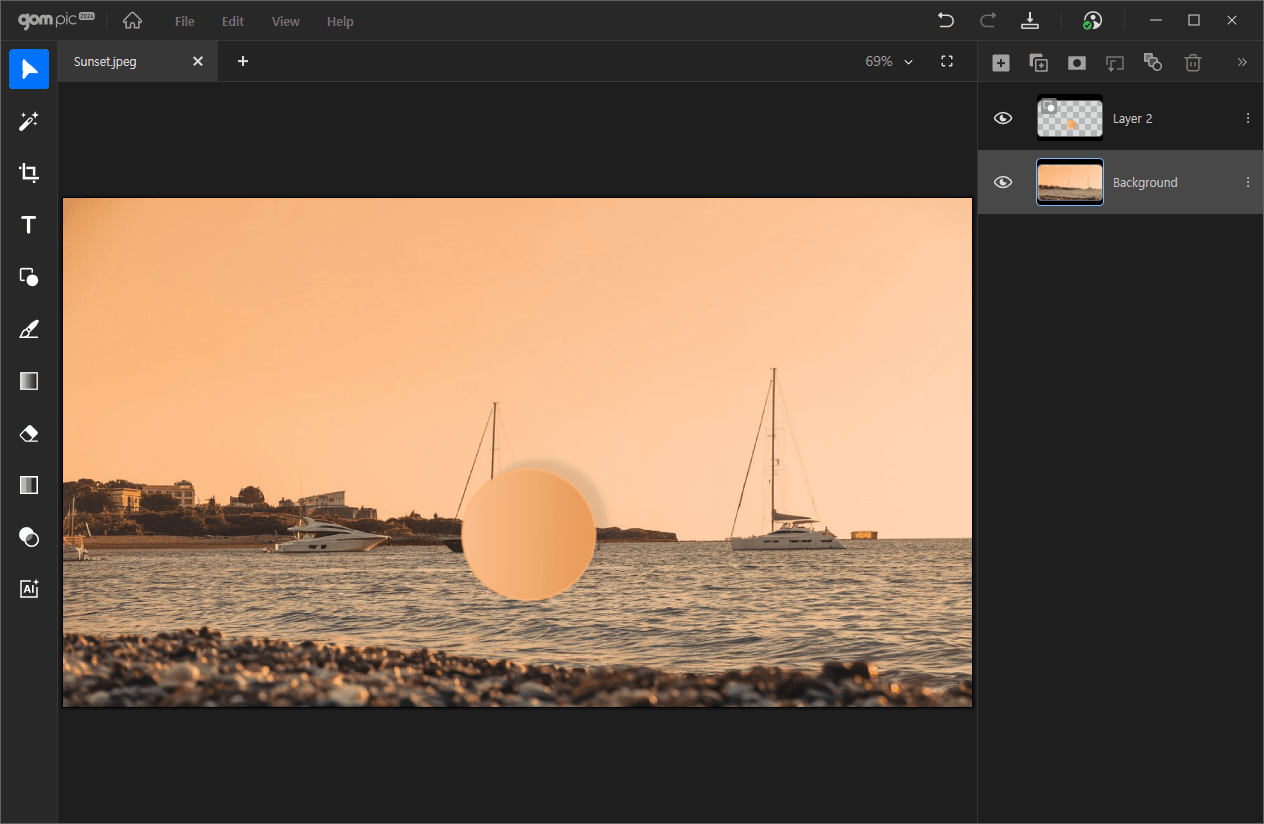
You can use blending modes to create natural composition between layers.
-
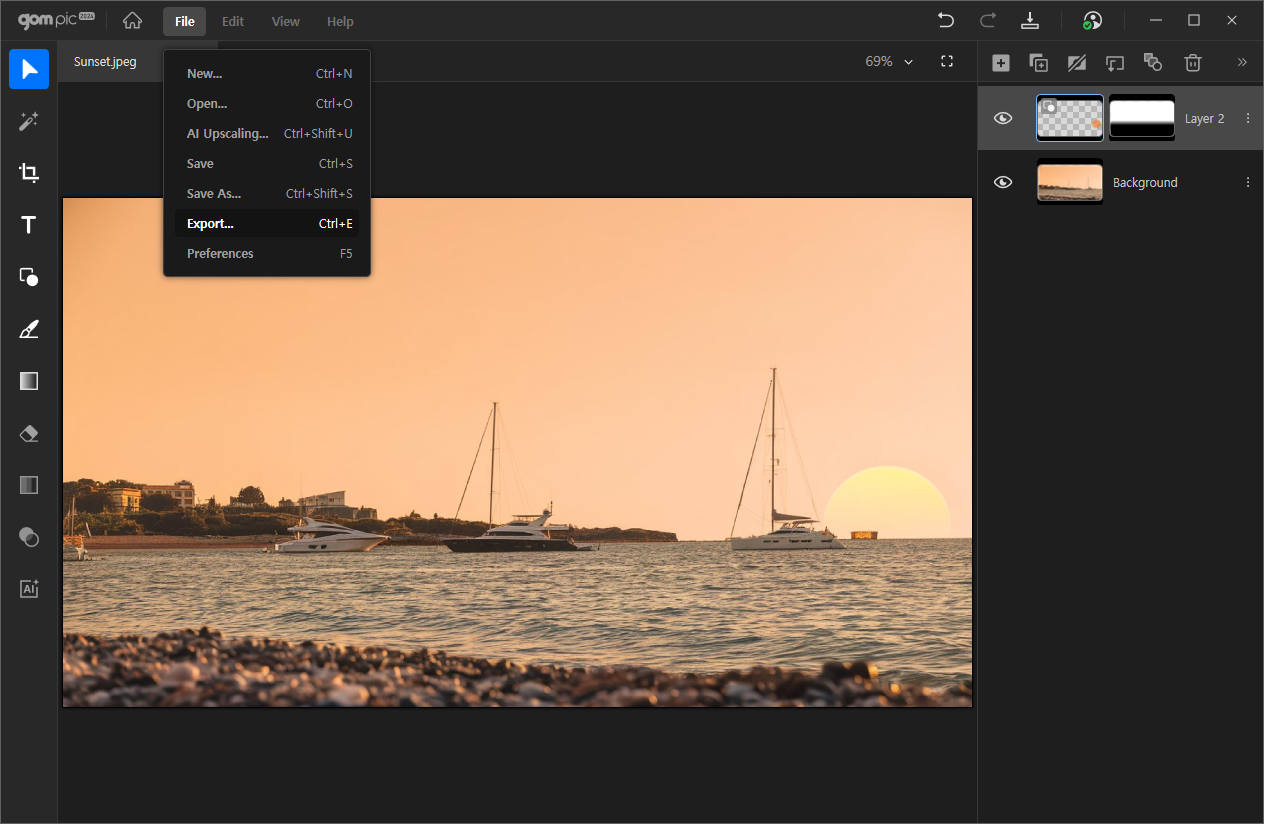
11.
Click on
 the button in the top-right toolbar menu area or go to 'File > Export' to export the file, or press the shortcut Ctrl + E.
-
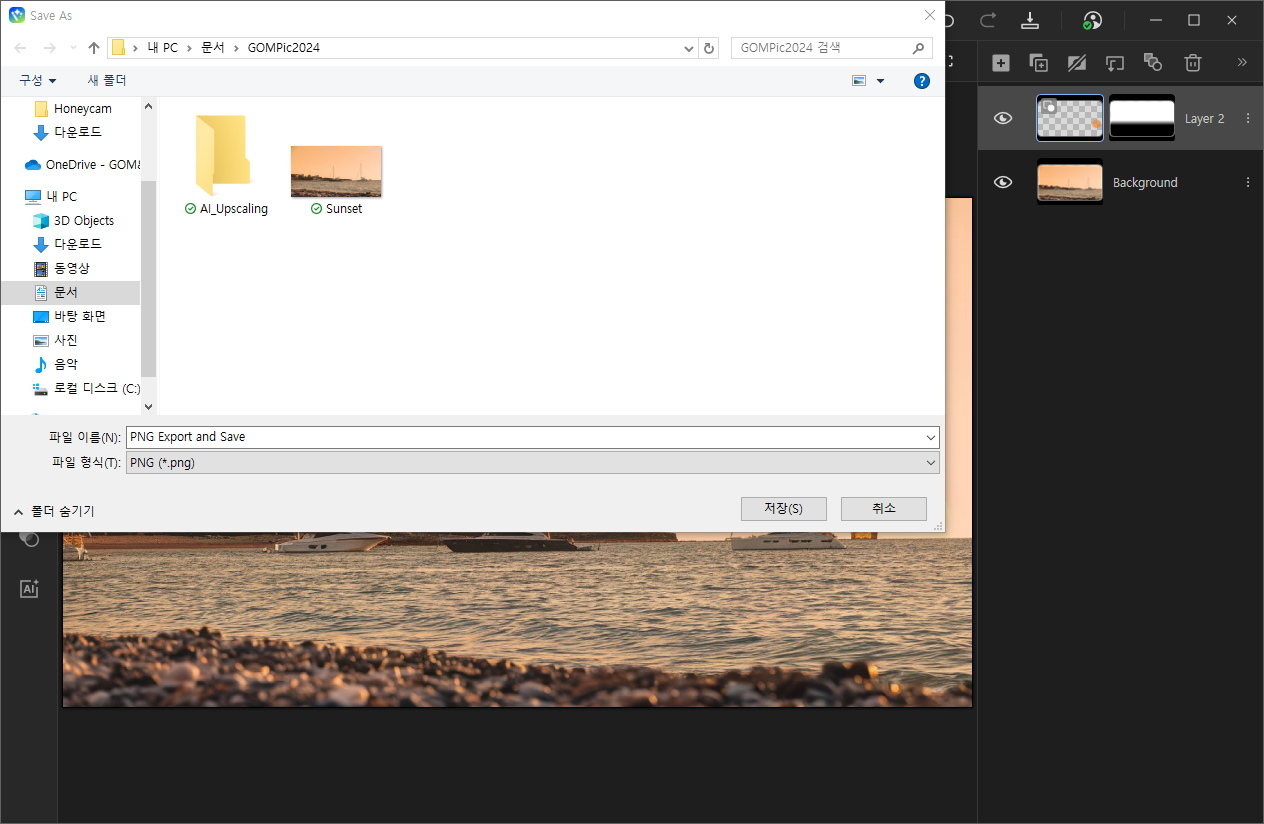
12.
Specify the folder to save, the file name, and the file format in the Windows File Explorer.
-
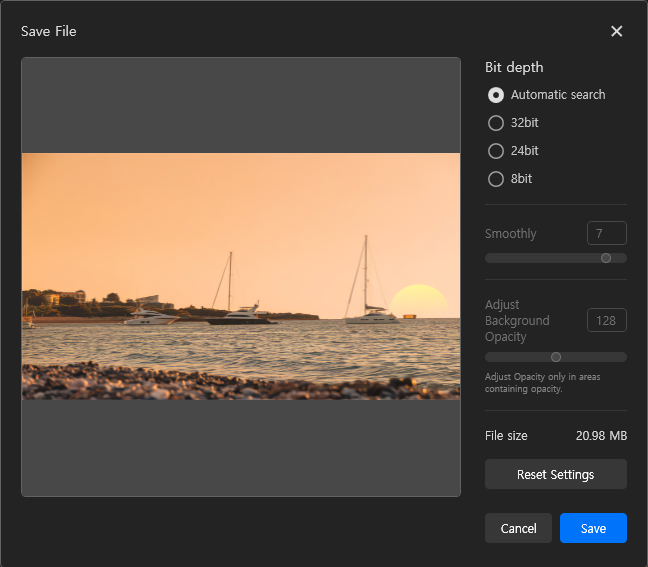
13.
Adjust the quality and settings in the save options window, then click the [Save] button to finalize the file output.