GOM PicUser Guide
EXPORT
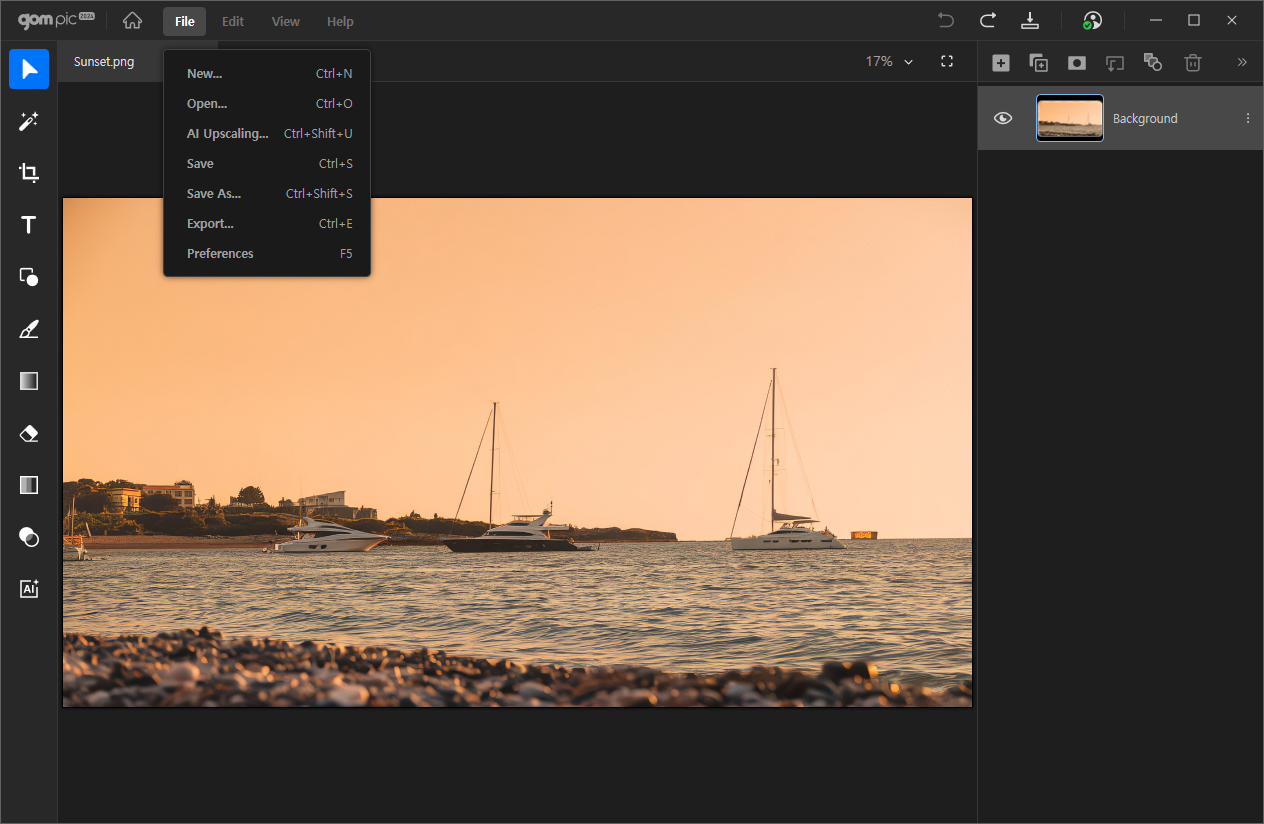
If you have finished editing the image, you can output the file by selecting File > Export from the top menu bar or using the shortcut Ctrl+E.
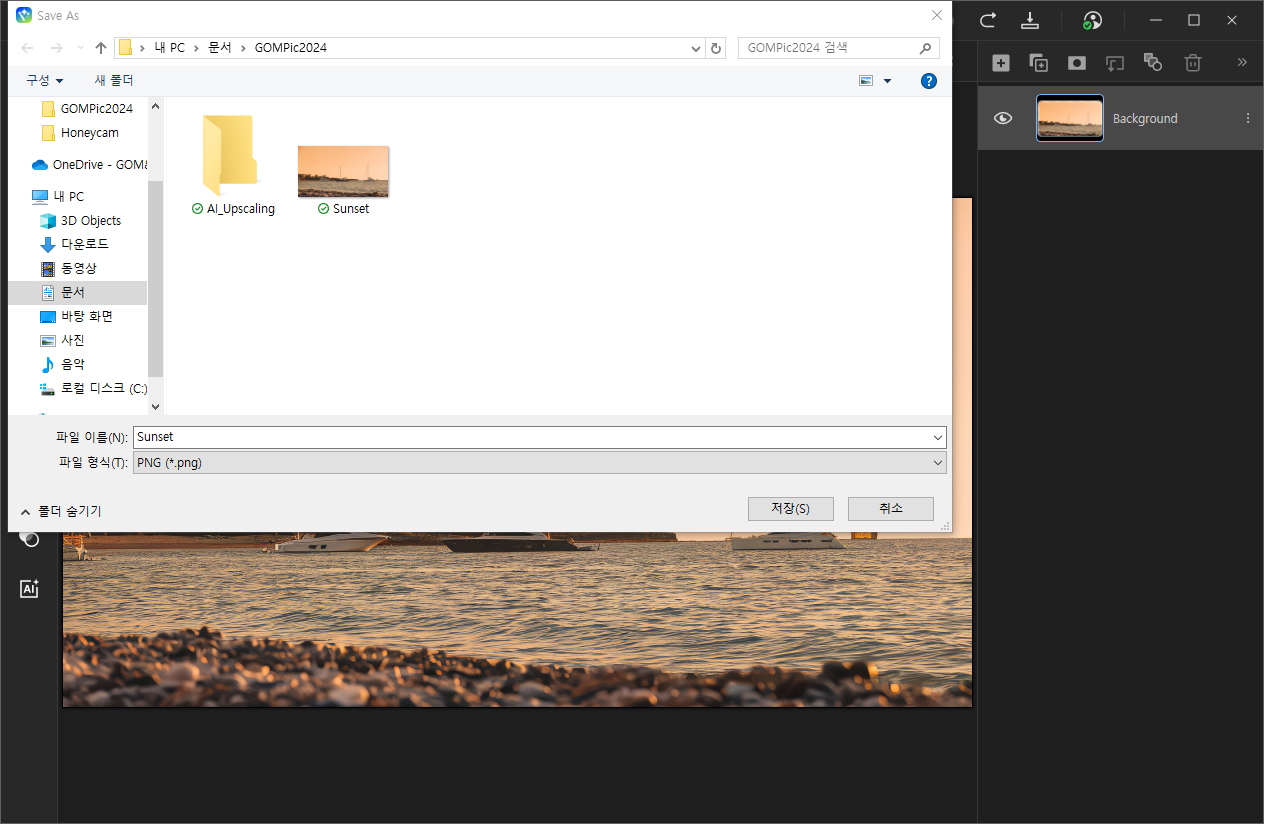
Clicking on this menu will bring up Windows Explorer, where you can specify the file save folder and format. The default output format is PNG (*.png).
File saving options
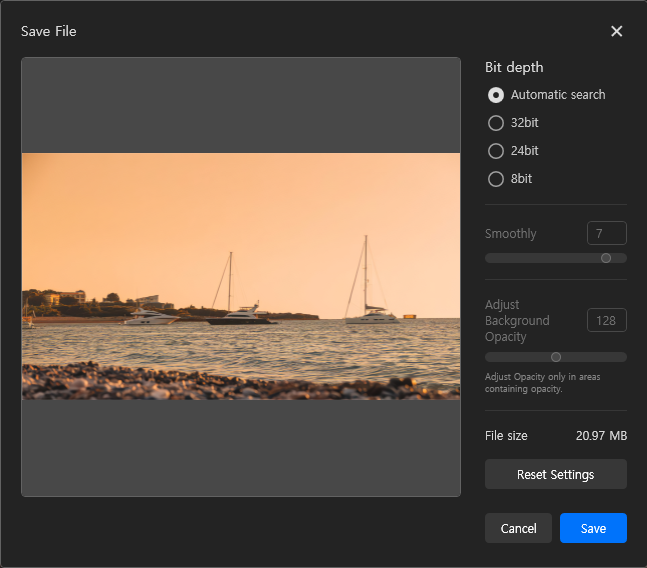
After setting the save folder and format, the file saving options window as shown above will appear.
| Bit Depth | Select the quality of the output file. A higher number indicates higher quality output, and selecting "Auto Detect" allows for exporting at the optimal quality for the image. |
|---|---|
| Smoothly | Adjust the level of dithering to mitigate color banding or stair-stepping that may occur when outputting images at low resolutions. You can enter a number directly or adjust it by dragging the scroll bar. Available only when the bit level is 8 bit. |
| Adjust Opacity of Background | Adjust the transparency of areas containing transparent values. You can enter a number directly or adjust it by dragging the scroll bar. Available only when the bit level is 8 bit. |
| File Size Reset | Displays the size of the image to be output. |
| Settings | Resets any changes made to the settings. |
Once you have completed the option settings, press the 'Save' button to output the file.