GOM Mix ProUser Guide
Encoding
To turn the complete project into a video file, the video must be encoded in an appropriate video file format. Click the Start Encoding button in the built-in encoder to open the Encoding window.

The steps to encode a video is as follows:
-
1.
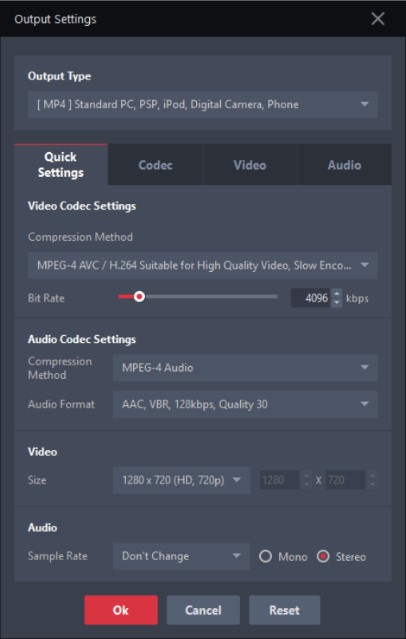
Click Output Settings in the encoder. The Output Settings window will appear.

-
2
In the Output Settings window, choose the Output Type and configure other settings.

-
3
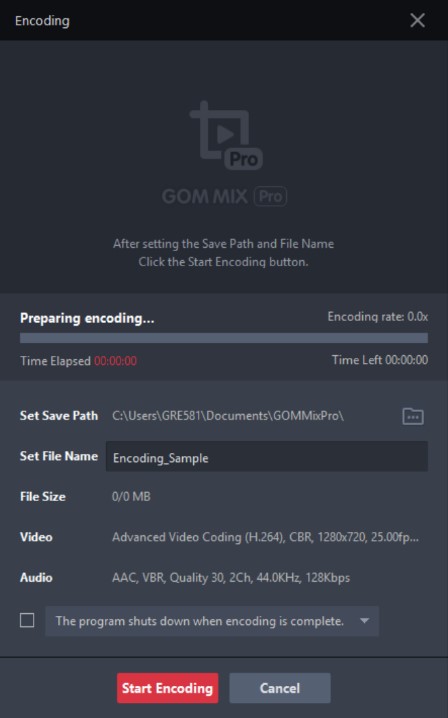
Click the Start Encoding button in the encoder tool bar. An encoding window opens.

-
4
Check the Output Folder where the encoded file will be saved.
- To change the location, click the directory (
 ) icon and specify the folder you want to save the files in.
- To change the location, click the directory (
- 5 Enter the name for the file in File Name.
-
6
Choose the action on the program or computer shutdown after encoding is complete. If not checked, it will take no action.

- The program shuts down when encoding is complete: Shuts down the GOM Mix Pro program when encoding is complete.
- The system shuts down when encoding is complete: Shuts down the system when encoding is complete.
-
7
In the Encoding window, click Start Encoding.
- To pause or cancel the encoding process, click Pause or Cancel.

-
8
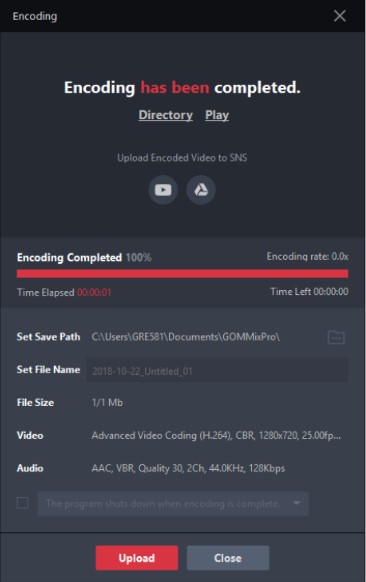
Once encoding is complete, check the created video file.

- Directory: the folder where the encoded file is saved.
- Play: Plays the encoded file using a video player installed on your PC.
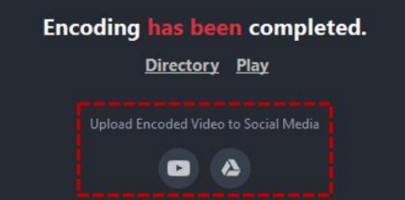
- Click the Upload button to upload the video to SNS (YouTube) or Cloud Service (Google Drive).

